
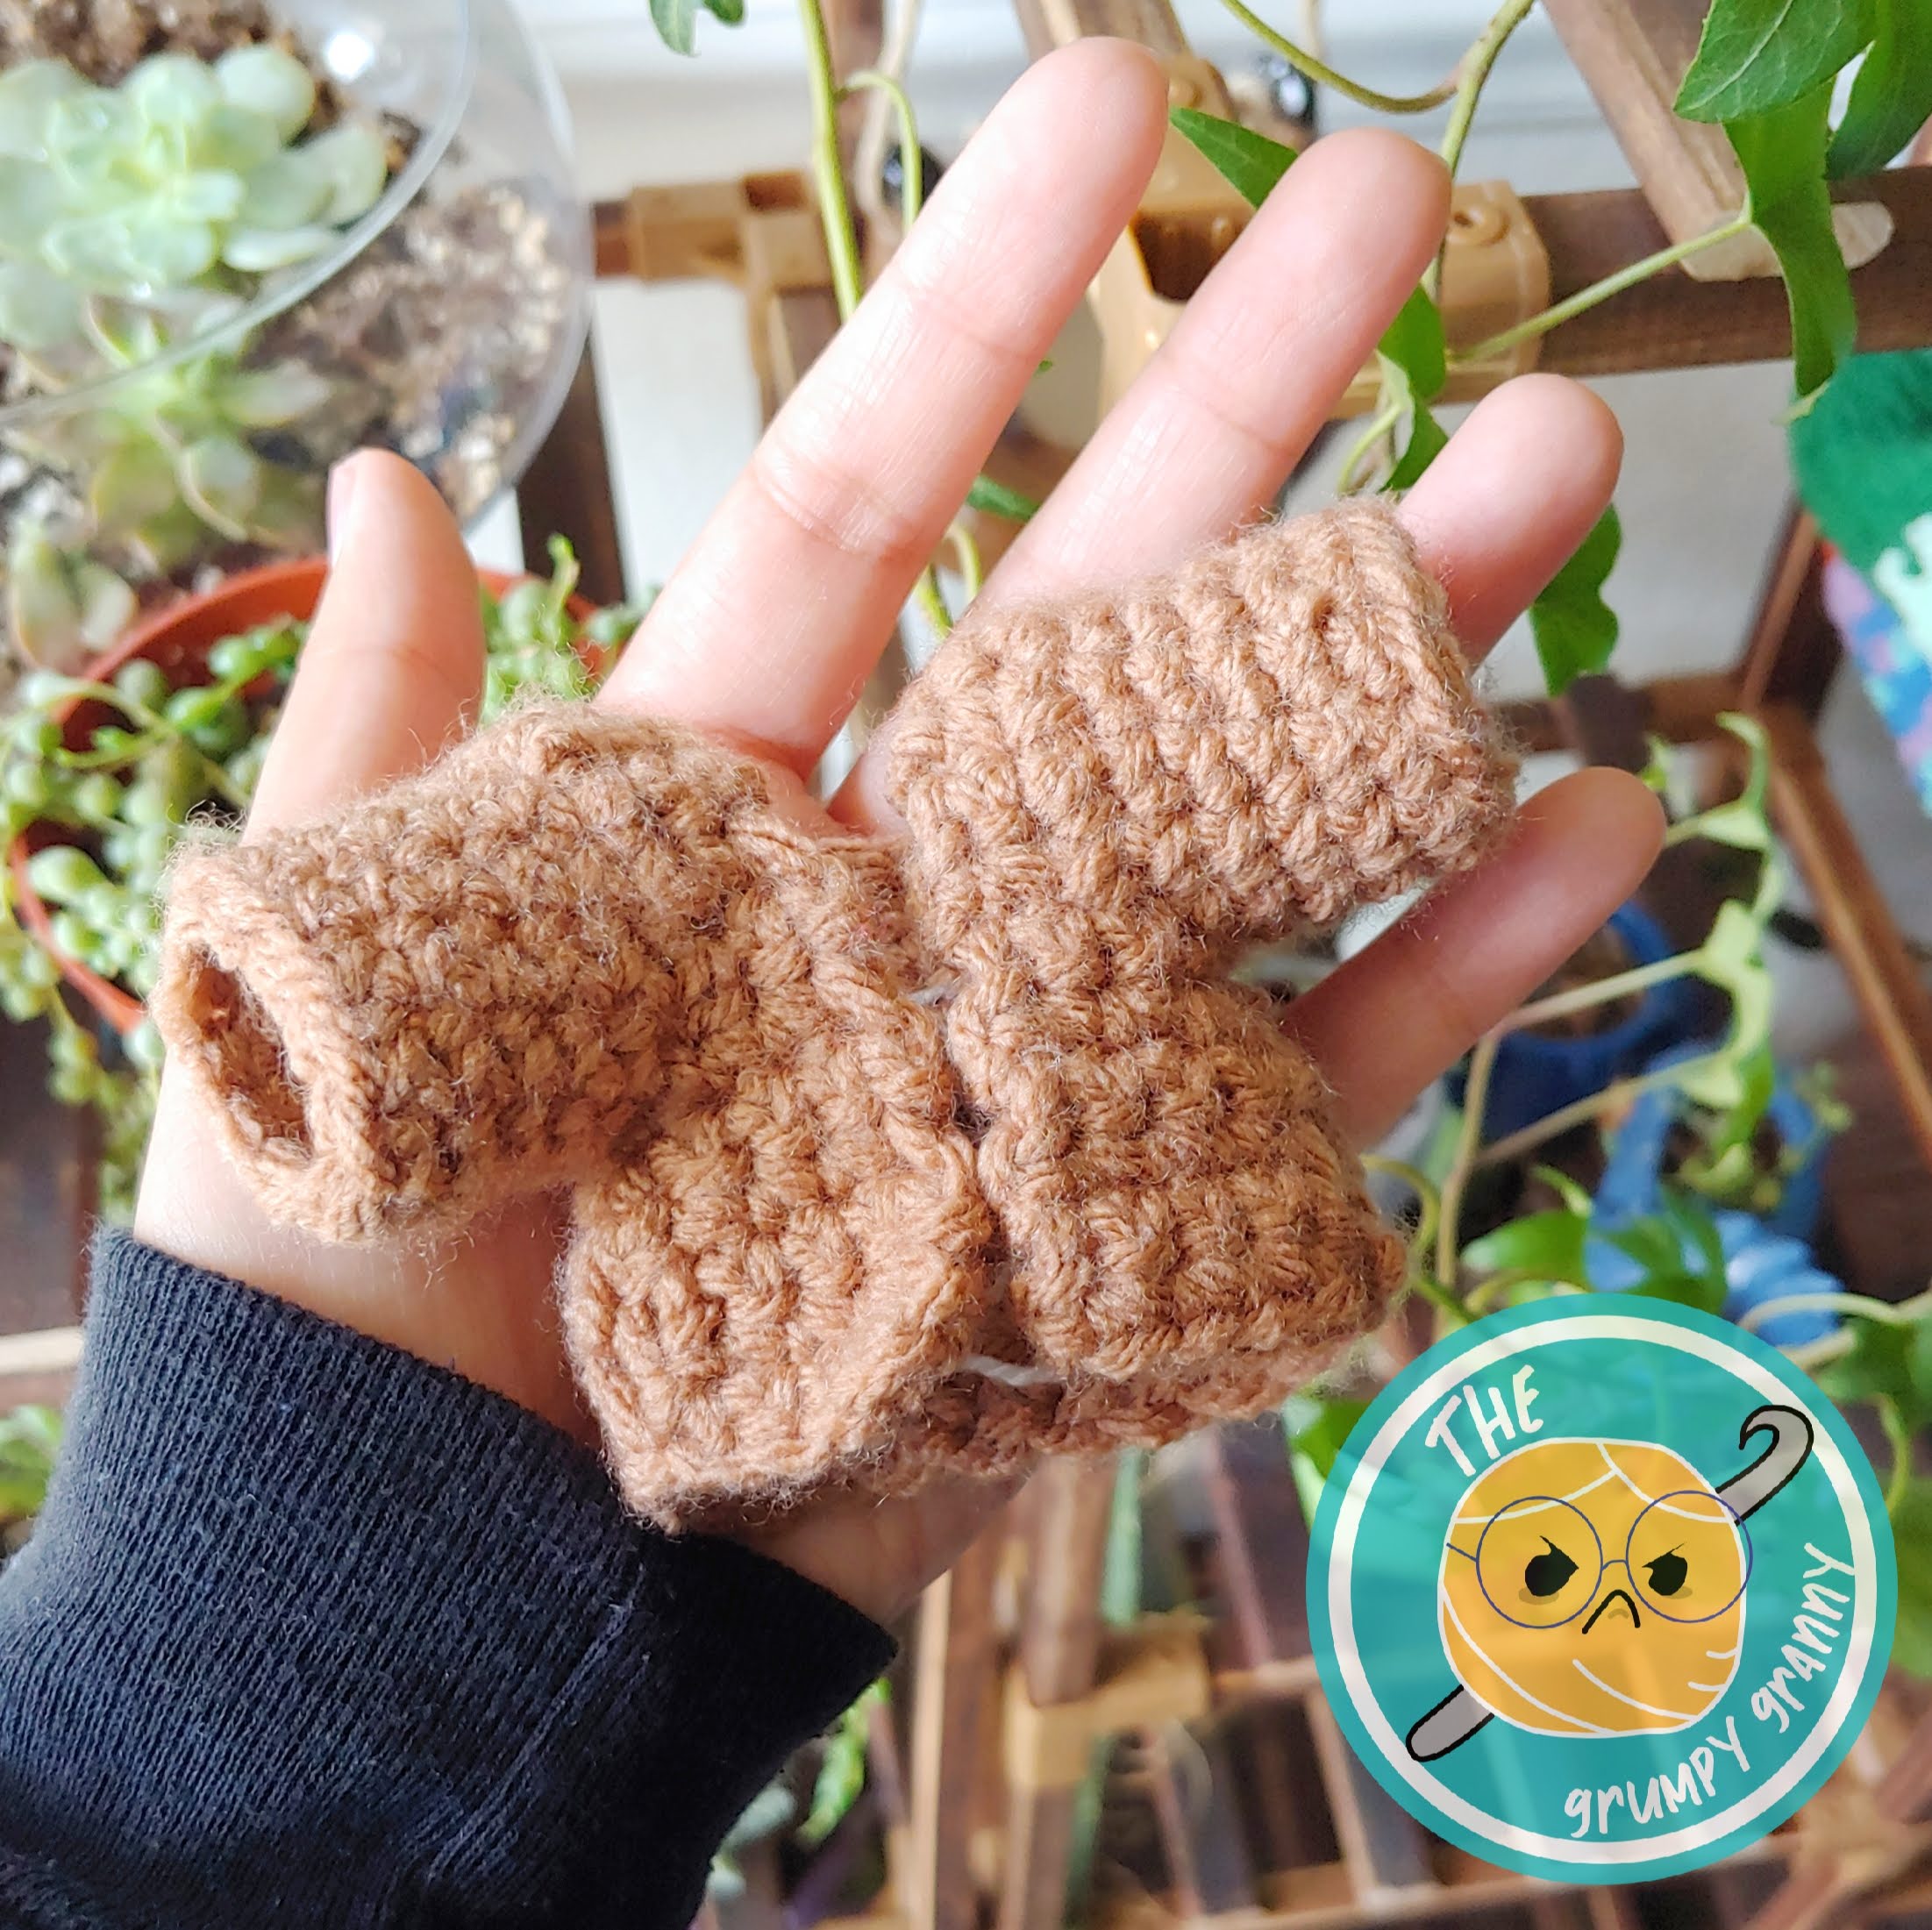
Hello, friend.
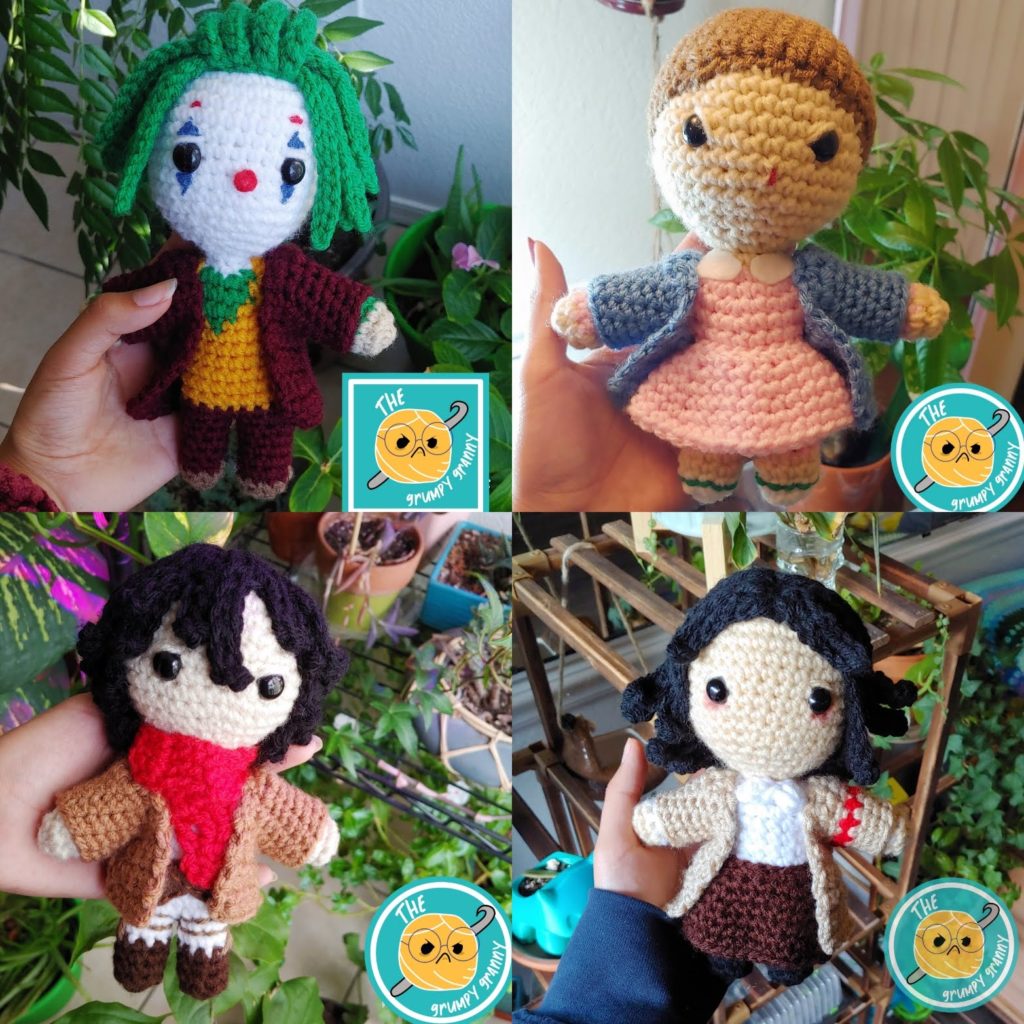
Welcome to the Build Ami series – if you’re just joining us, it’s fantastic to have you on board! Here, we’re embarking on an exciting journey to curate the ultimate collection of crochet patterns tailored specifically for crafting adorable amigurumi. And guess what? You’ve landed on the fourth installment of our series, where we’ll delve into the art of creating a Removable Jacket for your amigurumi, inspired by my beloved Classic Doll Base design.
Before we dive into the intricacies of this pattern, it’s important to ensure you’ve completed your amigurumi according to the Classic Doll Base Crochet Pattern. This jacket is crafted to snugly fit these doll bases, ensuring a seamless and stylish ensemble for your crochet creations.
The ad-free and printable versions of the Build Ami patterns can be found at Ribblr, Ravelry, and Etsy.
Without further ado, let’s pick up our crochet hooks and dive into the delightful world of amigurumi fashion. Happy crocheting!
PATTERN
Abbreviations
- Ch: Chain
- Sc: Single Crochet
- Sc inc: Single Crochet Increase
- Sc dec: Single Crochet Decrease
- Sl st: Slip Stitch
- (xx): Numbers in bold mean stitch count at the end of each round
Gauge
In a 1 inch by 1 inch square of stitches there should be 4sc and 4 rows of sc.
Materials Needed
- 4.50mm Crochet Hook
- Medium Weight Yarn
- Scissors
- Yarn needle (metal recommended)
- A stitch marker (I use colorful paperclips)
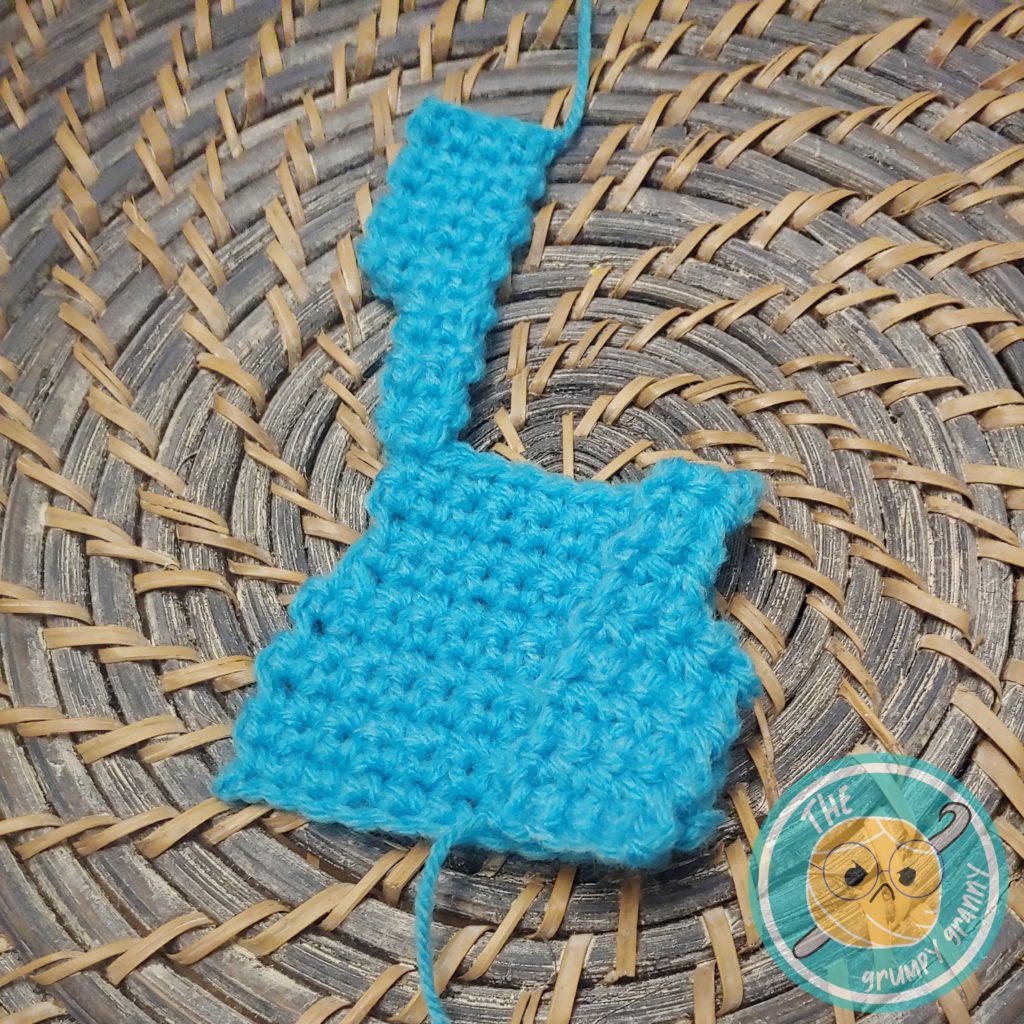
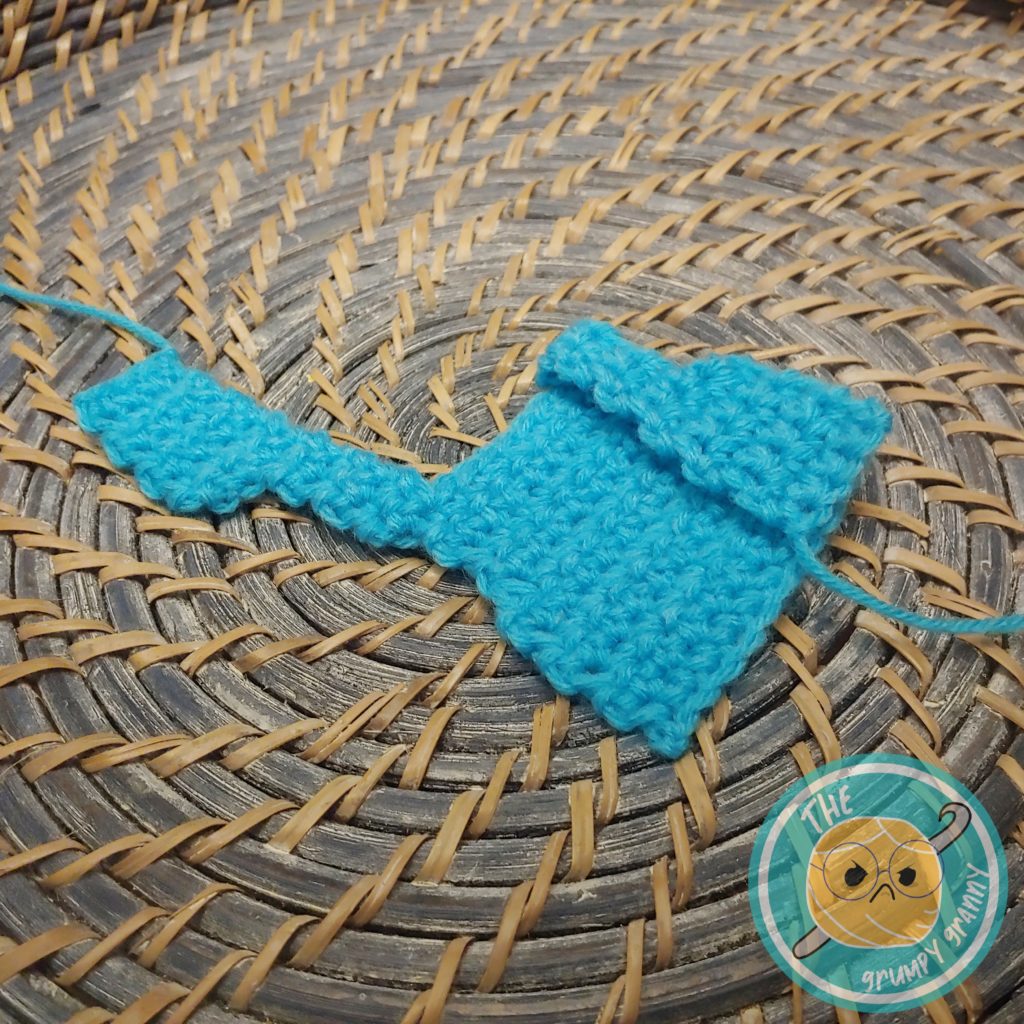
Jacket Body
You’ll start working the back of the jacket first, from the bottom to the top. Working in rows and using the color that you want:
1. Ch 12, skip the first ch and sc 11 across (11)
2. – 6. Ch 1, sc 11 across (5 rows), (11)
7. Ch 1, skip the first sc, sc 8, sc dec 1, (9)
8. – 11. Ch 1, sc 9 across (6 rows), (9)
From here we’ll start working one of the front halves of the jacket.
12. Ch 2, skip the first ch, sc in the second ch, sc 1 (2)
13. -17. Ch 1, sc 2 (5 rows), (2)
18. Ch 3, skip the first ch, sc 4 across (4)
19. – 25. Ch 1, sc 4 (7 rows) (4), fasten off at the end of row 29, leaving an 8 inch tail for sewing.
This completes one half of the front of the jacket. Reattach yarn to the opposite corner of row 11.
1. Ch 2, skip the first ch, sc in the second ch, sc 1 (2)
2. -6. Ch 1, sc 2 (5 rows), (2)
7. Ch 3, skip the first ch, sc 4 across (4)
8. – 16. Ch 1, sc 4 (9 rows) (4), fasten off at the end of row 16, leaving an 8 inch tail for sewing.
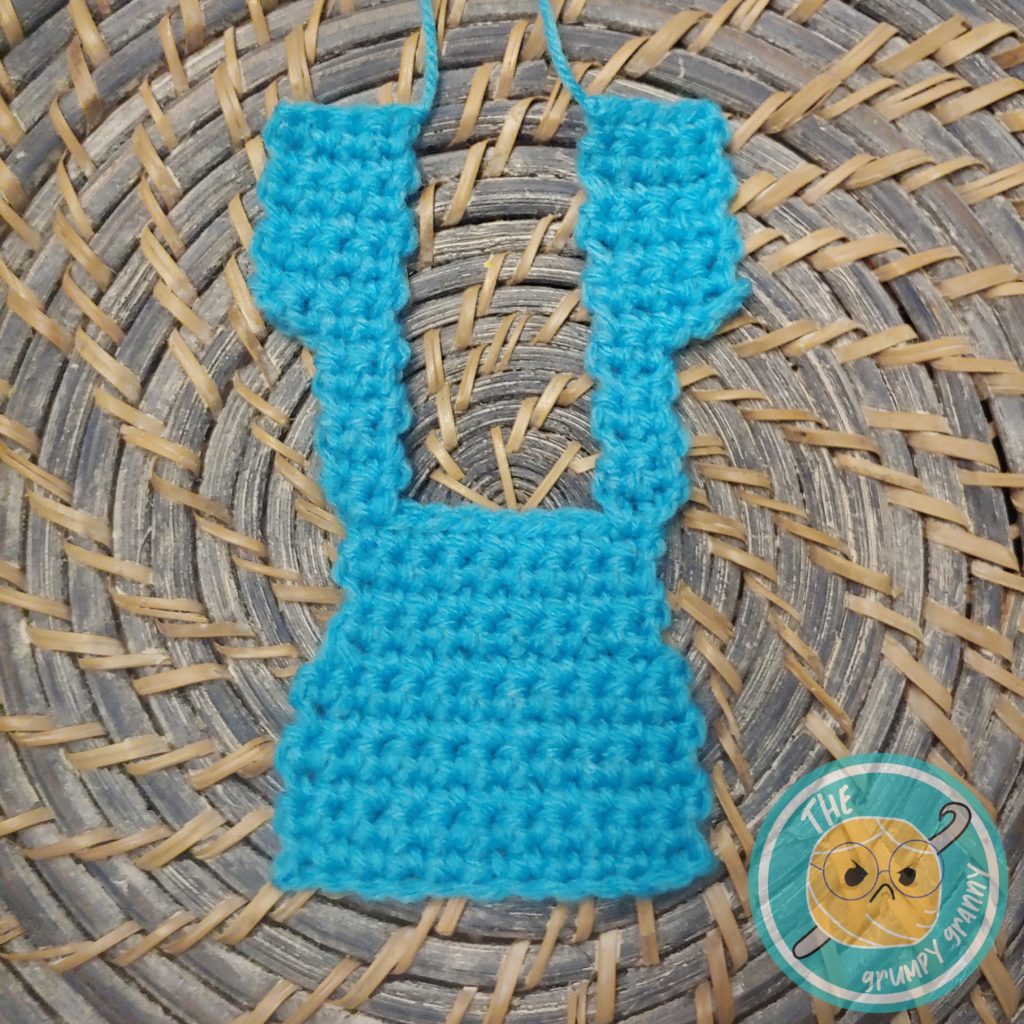
Fold over both halves of the jacket, aligning the bottoms. Using a yarn needle, sew the outer sides of the jacket from the bottom up for nine rows, leaving an opening for the amigurumi’s arms.
Sleeves
Attach the yarn to one of the “armpits” of the jacket, where you finished sewing.
1. Work in the round and fit 10 sc around the arm hole, sl st into the first sc. (10)
2. – 6. Ch 1, sc 10, sl st into the first sc (10), fasten off after finishing round 6.
Repeat this pattern for the other sleeve.

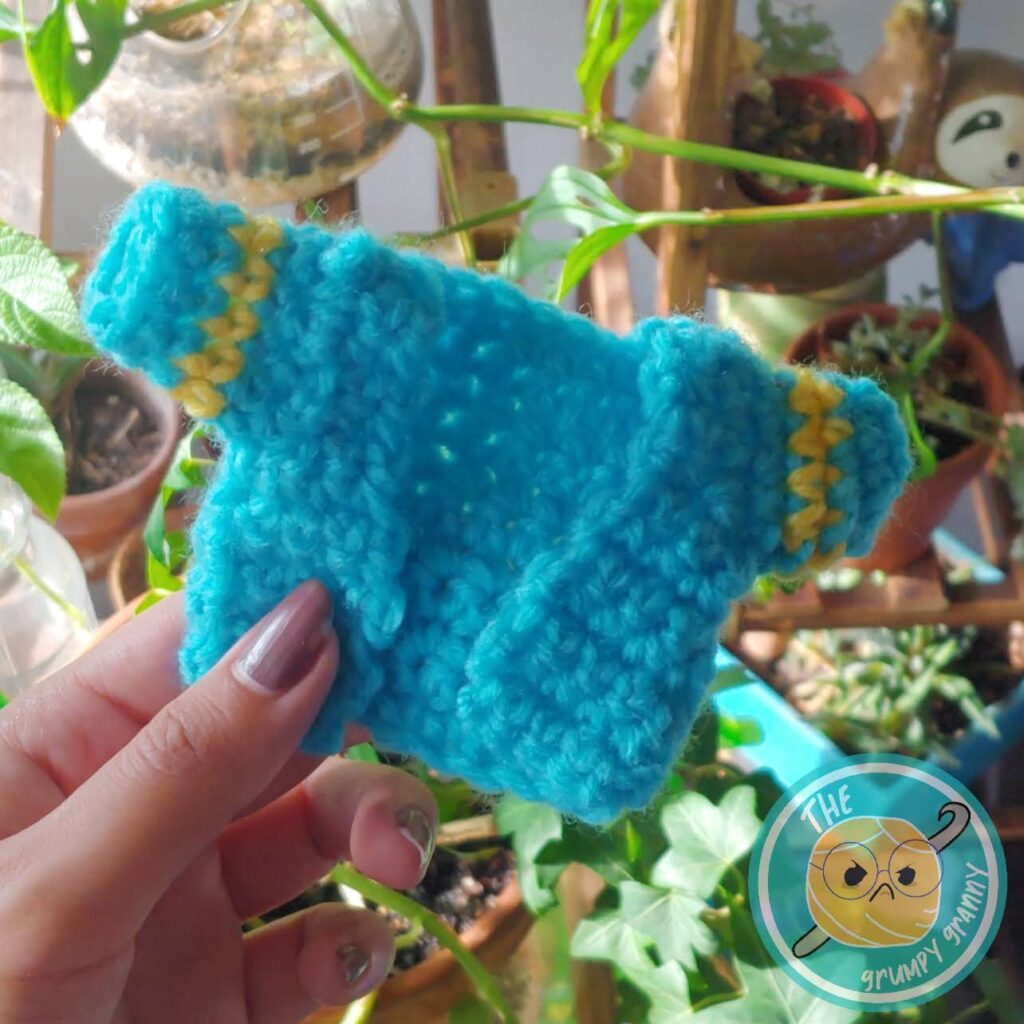

Be sure to hide all yarn ends for a clean and professional finish. With this final touch, your amigurumi is one step closer to becoming a true work of art, ready to delight and enchant. Thank you for following along 🙂
Thank you so much for choosing my pattern!
If you liked this design please consider following our Twitch Streams
I’D LOVE TO SEE YOUR PROJECTS! IF YOU HAVE PROGRESS PICTURES OR WANT TO SHARE YOUR FINISHED PROJECT PLEASE TAG THE GRUMPY GRANNY ON SOCIAL MEDIA
You may sell your product providing pattern credit to The Grumpy Granny on Twitch, TikTok, Instagram, Etsy, Facebook, Pinterest, Ravelry: @the.grumpy.granny or any other social media in which you advertise. The pattern itself shall not be copied. If you sell the items you must use your own pictures for advertising. If you need assistance during the process or find someone else selling my pattern feel free to contact me on social media or email me at la.grumpy.granny@gmail.com