A quick and cute crochet pattern to brighten up your day and keep your hands busy during this 2020 quarantine ♥.
This project can be done in less than an hour and it is beginner friendly!
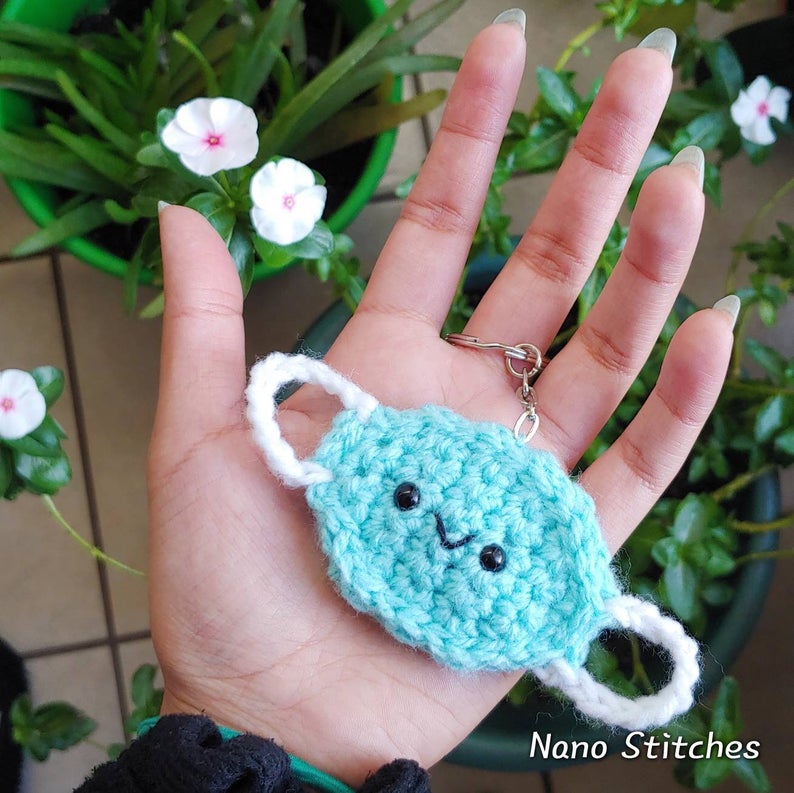
I made this little design as a comic relief to our collective stress and (hopefully) as small aid to my current financial situation. This tiny face mask is meant to bring you some joy in these most strange of times.
For decorative purposes only.
The definitions for all crochet abbreviations used can be found here.
If you’d like a printable and ad-free version of this pattern just click here.
Materials:
- 4.5mm Crochet Hook
- 6mm Safety eyes and their backings
- 1oz Light Blue yarn
- <1oz White yarn
- <1 yard of black embroidery floss
- Yarn needle (metal recommended)
Pattern:
Working with light blue yarn:
- Row 1: Chain 4, turn your work, skip the first stitch and sc across (3)
- Row 2: Chain 1, turn your work, Sc inc in the next stitch, Sc 1, and Sc inc in the last stitch (5)
- Row 3: Chain 1, turn your work, Sc inc in the next stitch, Sc 3, and Sc inc in the last stitch (7)
- Row 4 – 8: Chain 1, turn your work, and Sc 7 across (5 rows) (7)
- Row 9: Chain 1, turn your work, Sc dec 1, Sc 3 across, Sc dec 1 (5)
- Row 10: Chain 1, turn your work, Sc dec 1, Sc 1 across, Sc dec 1 (3)
Fasten off and make another piece, but DON’T fasten off at the end of the second piece. Align the pieces and slip stitch around both to join them, before it is completely closed, move to the next page.
Face Details:
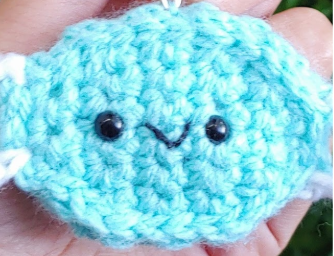
While the bottom of your work is still open, place safety eyes in place, one between rows 3 and 4 and another between rows 7 and 8. They should be 4 rows apart and between the 3rd and 4th stitch of each row so that they are as centered as possible.
Using the embroidery floss and the yarn needle, draw a “v” between both eyes. It should be about one single crochet wide.
When you are done with these details, finish closing the pieces with slip stitches. Fasten off leaving a 2 inch tail.
Side handles:
Leaving a 2 inch tail, attach the white yarn to one of the corners with a slip stitch. Chain 11 and slip stitch to the nearest corner. Fasten off leaving a 2 inch tail. Repeat the same process for the corners on the other side of the mask and, finally, hide all yarn tails inside of the “mask”.

Pro-tip:
Leaving slightly longer tails makes it harder for them to poke out of your work once you have hidden them!

And you’re done!
I added a keychain at the top of the mask so that I could carry my tiny mask around, which you can totally do too!:)
Thank you so much for choosing my pattern!
I’D LOVE TO SEE YOUR PROJECTS! IF YOU HAVE PROGRESS PICTURES OR WANT TO SHARE YOUR FINISHED PROJECT PLEASE TAG THE GRUMPY GRANNY ON SOCIAL MEDIA
You may sell your product providing pattern credit to The Grumpy Granny on Twitch, TikTok, Instagram, Etsy, Facebook, Pinterest, Ravelry: @the.grumpy.granny or any other social media in which you advertise. The pattern itself shall not be copied. If you sell the items you must use your own pictures for advertising. If you need assistance during the process or find someone else selling my pattern feel free to contact me on social media or email me at la.grumpy.granny@gmail.com