

Hello, friend.
Welcome to the Amigurumi Builder series! Whether you’re a seasoned crochet enthusiast or just starting out, I’m thrilled to have you join me on this creative journey. As we embark on our quest to curate the ultimate collection of crochet patterns tailored specifically for crafting adorable amigurumi, you’ve stumbled upon the second installment of our series – where we’ll unravel the secrets to creating a charming T-Shirt for your crochet creations.
For this pattern you’ll need to first complete the head of your amigurumi according to the Classic Doll Base Crochet Pattern
To kickstart your T-Shirt crafting adventure, it’s essential to have completed the head of your amigurumi using the Classic Doll Base Crochet Pattern. Haven’t done that yet? No worries! Simply click on the link provided to get started on your crochet masterpiece.
Once you’ve added your amigurumi’s with safety eyes, you’re ready to return to this pattern for the T-Shirt tutorial. With our step-by-step instructions and detailed visuals, you’ll be stitching up stylish tees for your amigurumi in no time.
The ad-free and printable version of this pattern can be found at Ribblr, Ravelry, and Etsy.
What are we waiting for? Let’s dive into the world of amigurumi fashion and elevate your crochet creations with the perfect T-Shirt ensemble. Join me as we unlock the endless possibilities of crochet and bring our imaginative visions to life, one stitch at a time.
PATTERN
Abbreviations:
- Ch: Chain
- Sc: Single Crochet
- Sl st: Slip Stitch
- Sc dec: Single crochet Decrease
- Sc inc: Single crochet Increase
- (xx): Numbers in bold mean stitch count at the end of each round
Materials Needed:
- 4.50mm Crochet Hook
- Medium Weight Yarn (Red Heart Super Saver)
- Polyester Fiberfill
- Scissors
- Yarn needle (metal recommended)
- Stitch Marker (improvised markers: paper clip, bobby pin, piece of different color yarn)
This entire pattern is worked in the round and most of it is a single piece.
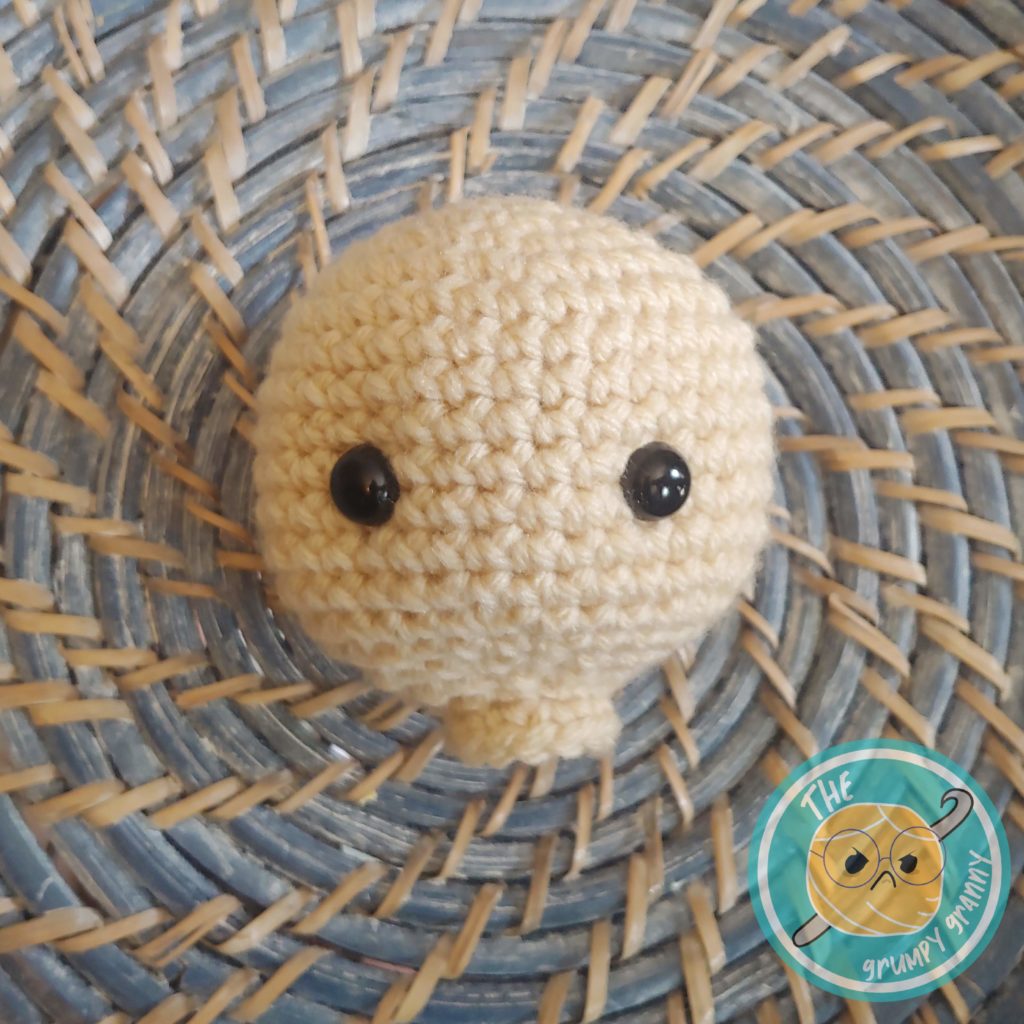
Head
Follow the Classic Doll Base pattern until Round 20. If you’re going to add safety eyes, this is the time to place them. Refer to the Doll Base pattern for information on placing the safety eyes.
Once you’re done with Round 20, SL ST into the next stitch and fasten off.
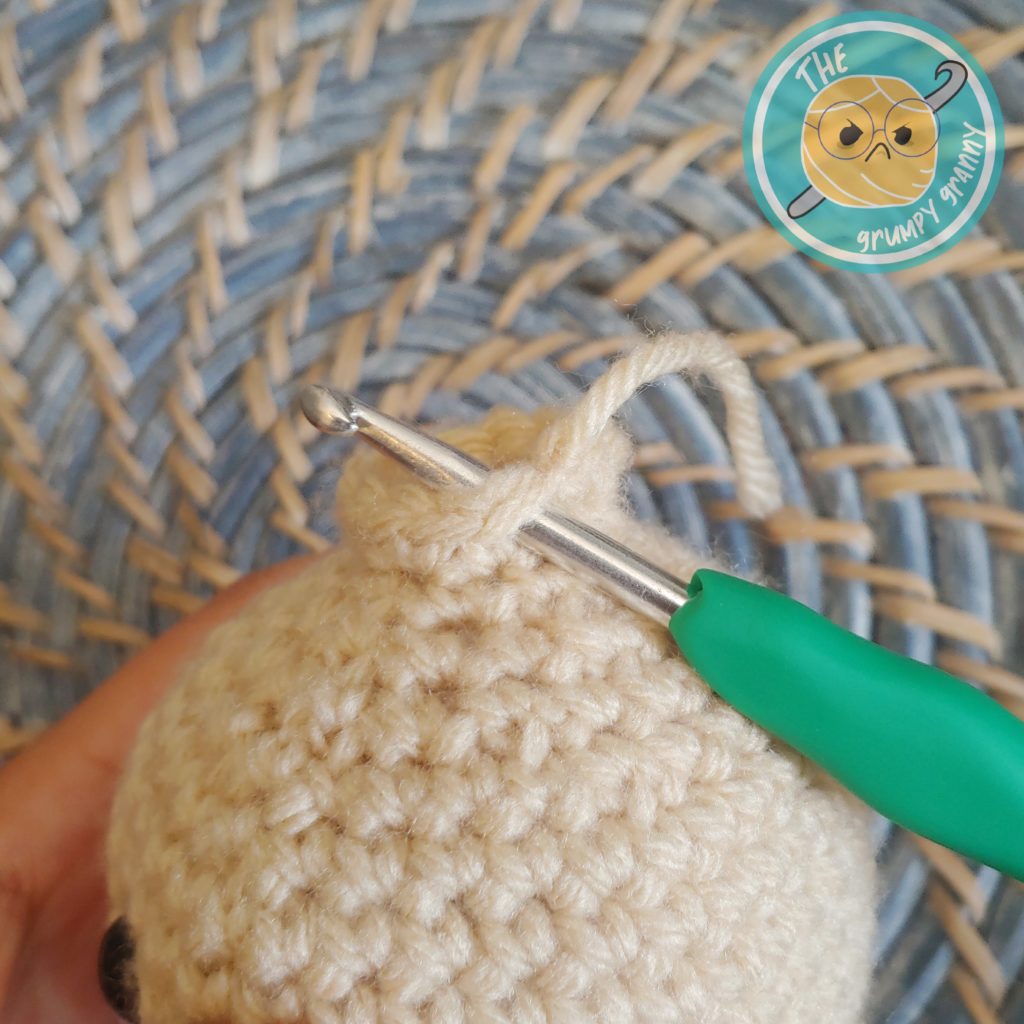
T-Shirt
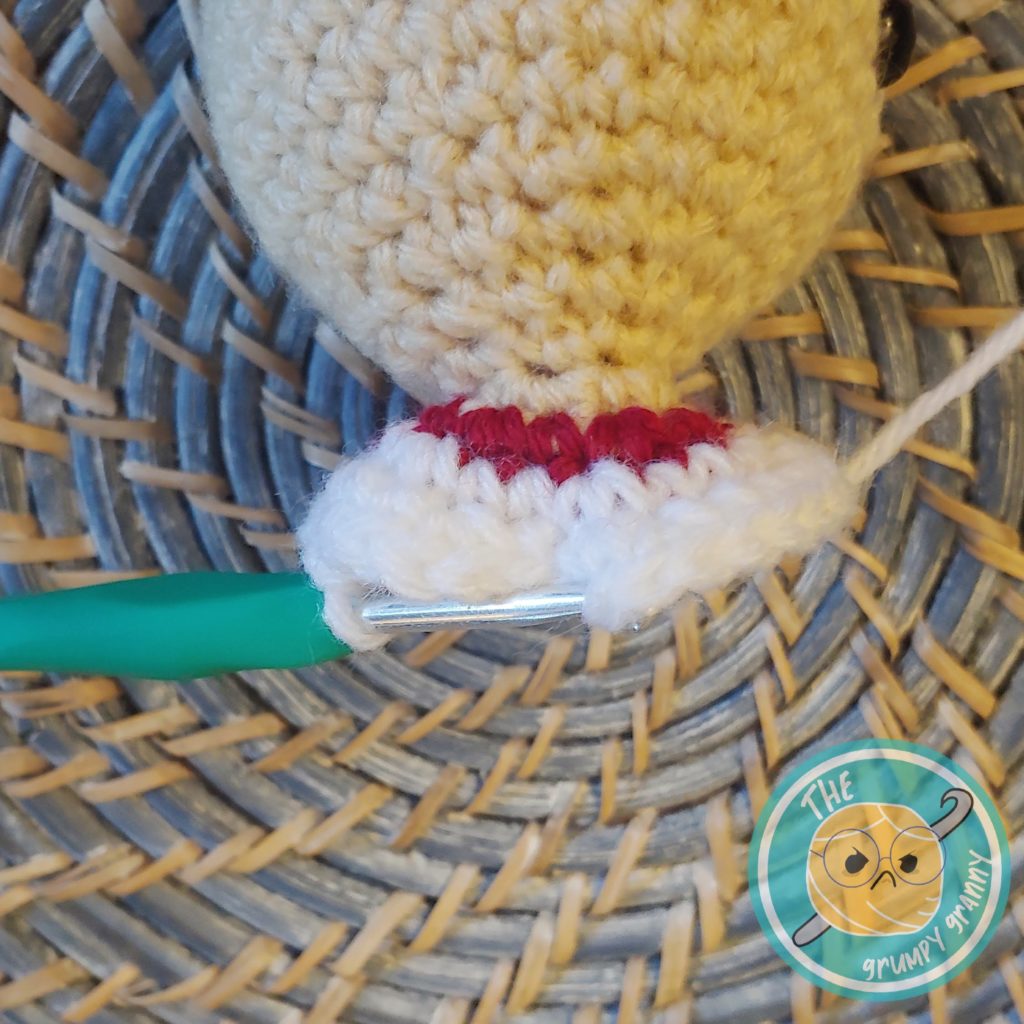
Switch to the yarn color you’ll use for the T-Shirt’s collar. Sl st to the stitch where you fastened off the head’s yarn:
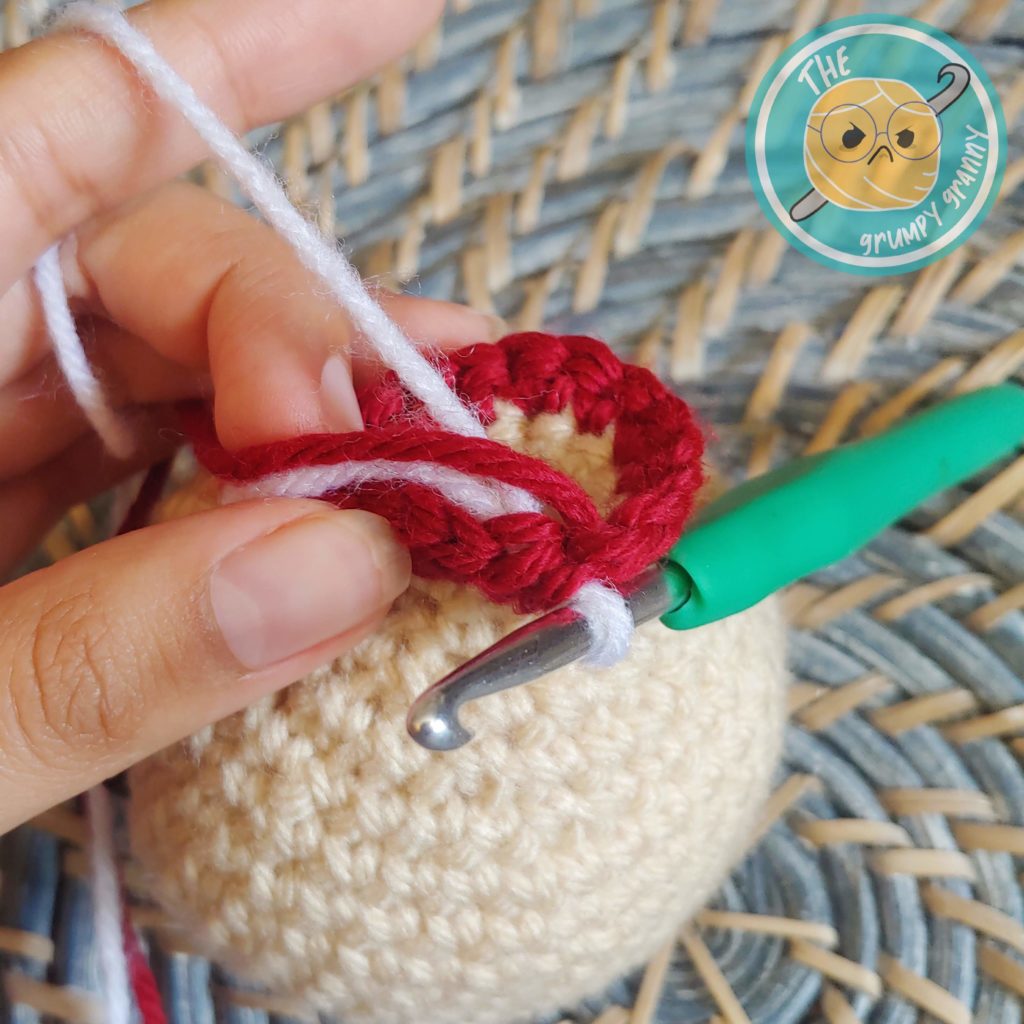
- Ch 1 (the ch does NOT count as a sc), skip the ch, (1sc, 1 sc inc) x6, sl st to the first sc of this round. (18)
- Switch your yarn to the T-Shirt’s main color. Ch 1, skip the ch, (1sc, 1 sc inc, 1sc) x6, sl st to the first sc of this round. (24)
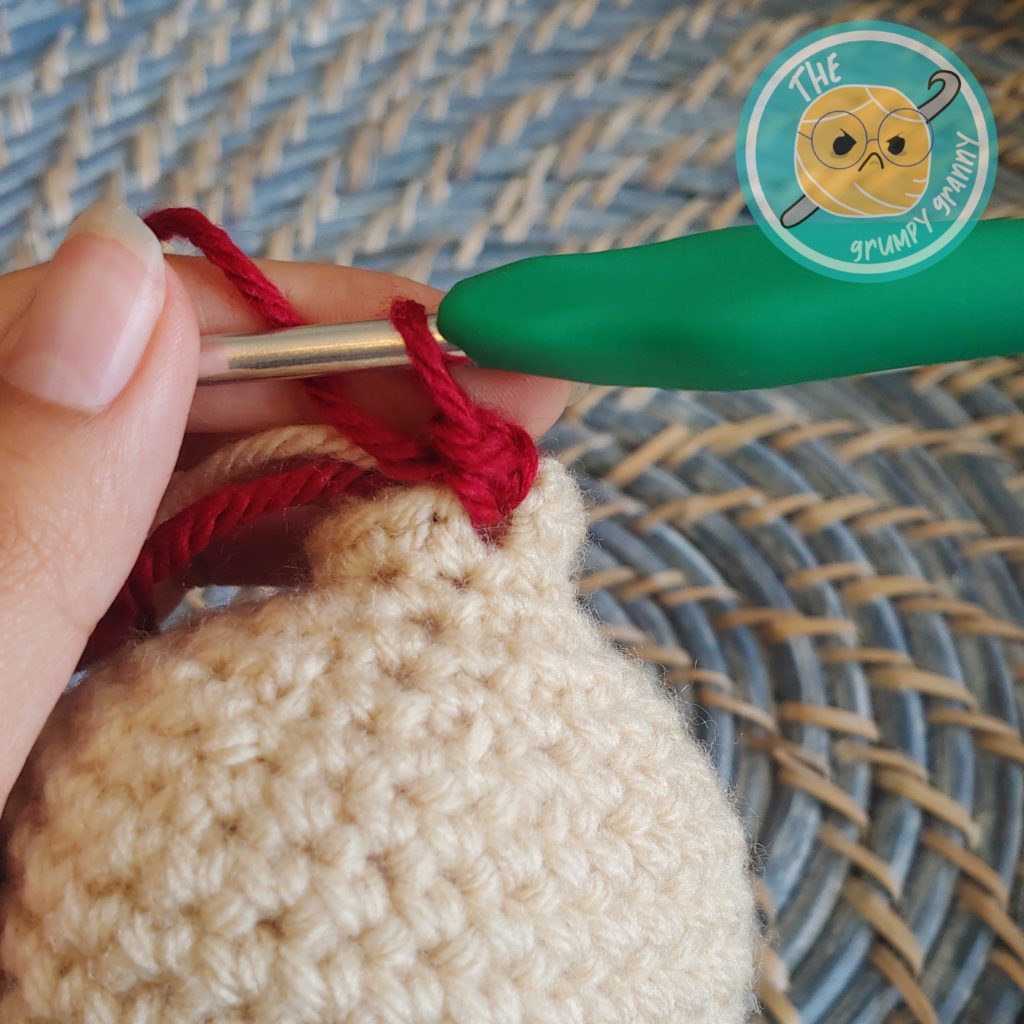
- Ch 1, skip the ch, (3sc, 1 sc inc) x6, sl st to the first sc of this round. (30)
Count 7 stitches after the end of this round and sc into the 8th. This creates the first arm hole, we will not work on it until further on. Single crochet a total of 8 stitches across, count 7 stitches to leave untouched and sc into the 8th stitch, sc across for a total of 8 stitches. This completes the first row of the torso.
VERIFY YOUR COUNTING: You should have 2 arm holes consisting of 7 sc each and this first row of the torso should be a total of 16 stitches around.
Set your stitch marker and sc for 3 more rows for a total of 4 sc rows.
This completes the torso portion of the T-Shirt. We will now work on the arms.
Arms
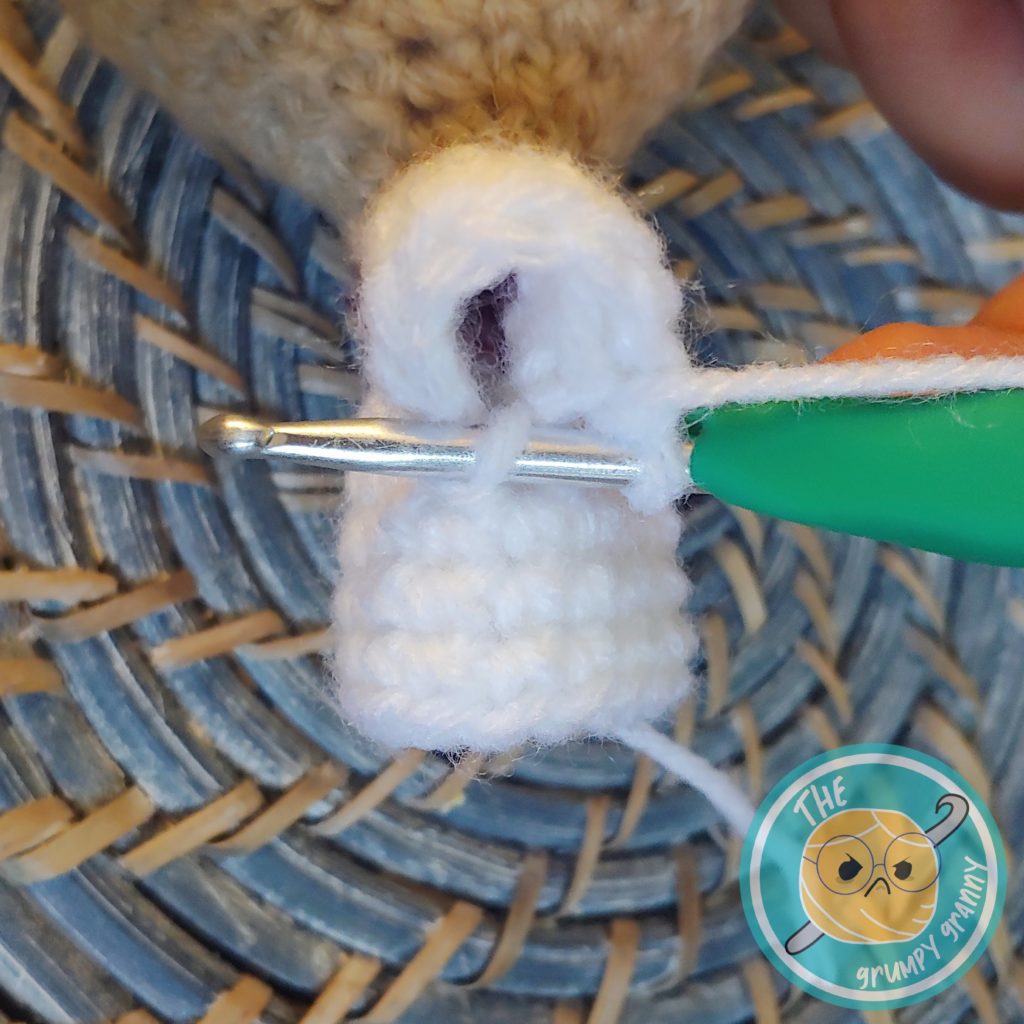
- Using the T-Shirt’s main color yarn. Attach the yarn to a stitch on the corner of an arm gap, ch 1, skip the ch, sc 7 around and work one sc on the “armpit” area (pictured). There is no evident space to place this sc but you need it in order to have proportional arms and legs. Sl st into the first sc of the round. (8)
2. Ch 1, sc 8, sl st to the first sc (8)
3. Switch to the yarn the color of your character’s skin. Ch 1, skip the ch, sc 8, sl st to the first sc (8)
4-7. (4 rounds) Ch 1, sc 8, sl st to the first sc (8)
At the end of round 7. Fasten off leaving a 4 inch tail. Using your yarn needle go through the outer loop of each stitch and then pull the tail to close the opening. Hide the yarn end inside.
Repeat this process on the other side to make the second arm.
You have now added a T-Shirt to your amigurumi doll!

Thank you so much for choosing my pattern!
If you liked this design please consider following our Twitch Streams
I’D LOVE TO SEE YOUR PROJECTS! IF YOU HAVE PROGRESS PICTURES OR WANT TO SHARE YOUR FINISHED PROJECT PLEASE TAG THE GRUMPY GRANNY ON SOCIAL MEDIA
You may sell your product providing pattern credit to The Grumpy Granny on Twitch, TikTok, Instagram, Etsy, Facebook, Pinterest, Ravelry: @the.grumpy.granny or any other social media in which you advertise. The pattern itself shall not be copied. If you sell the items you must use your own pictures for advertising. If you need assistance during the process or find someone else selling my pattern feel free to contact me on social media or email me at la.grumpy.granny@gmail.com