
Hello, friend!
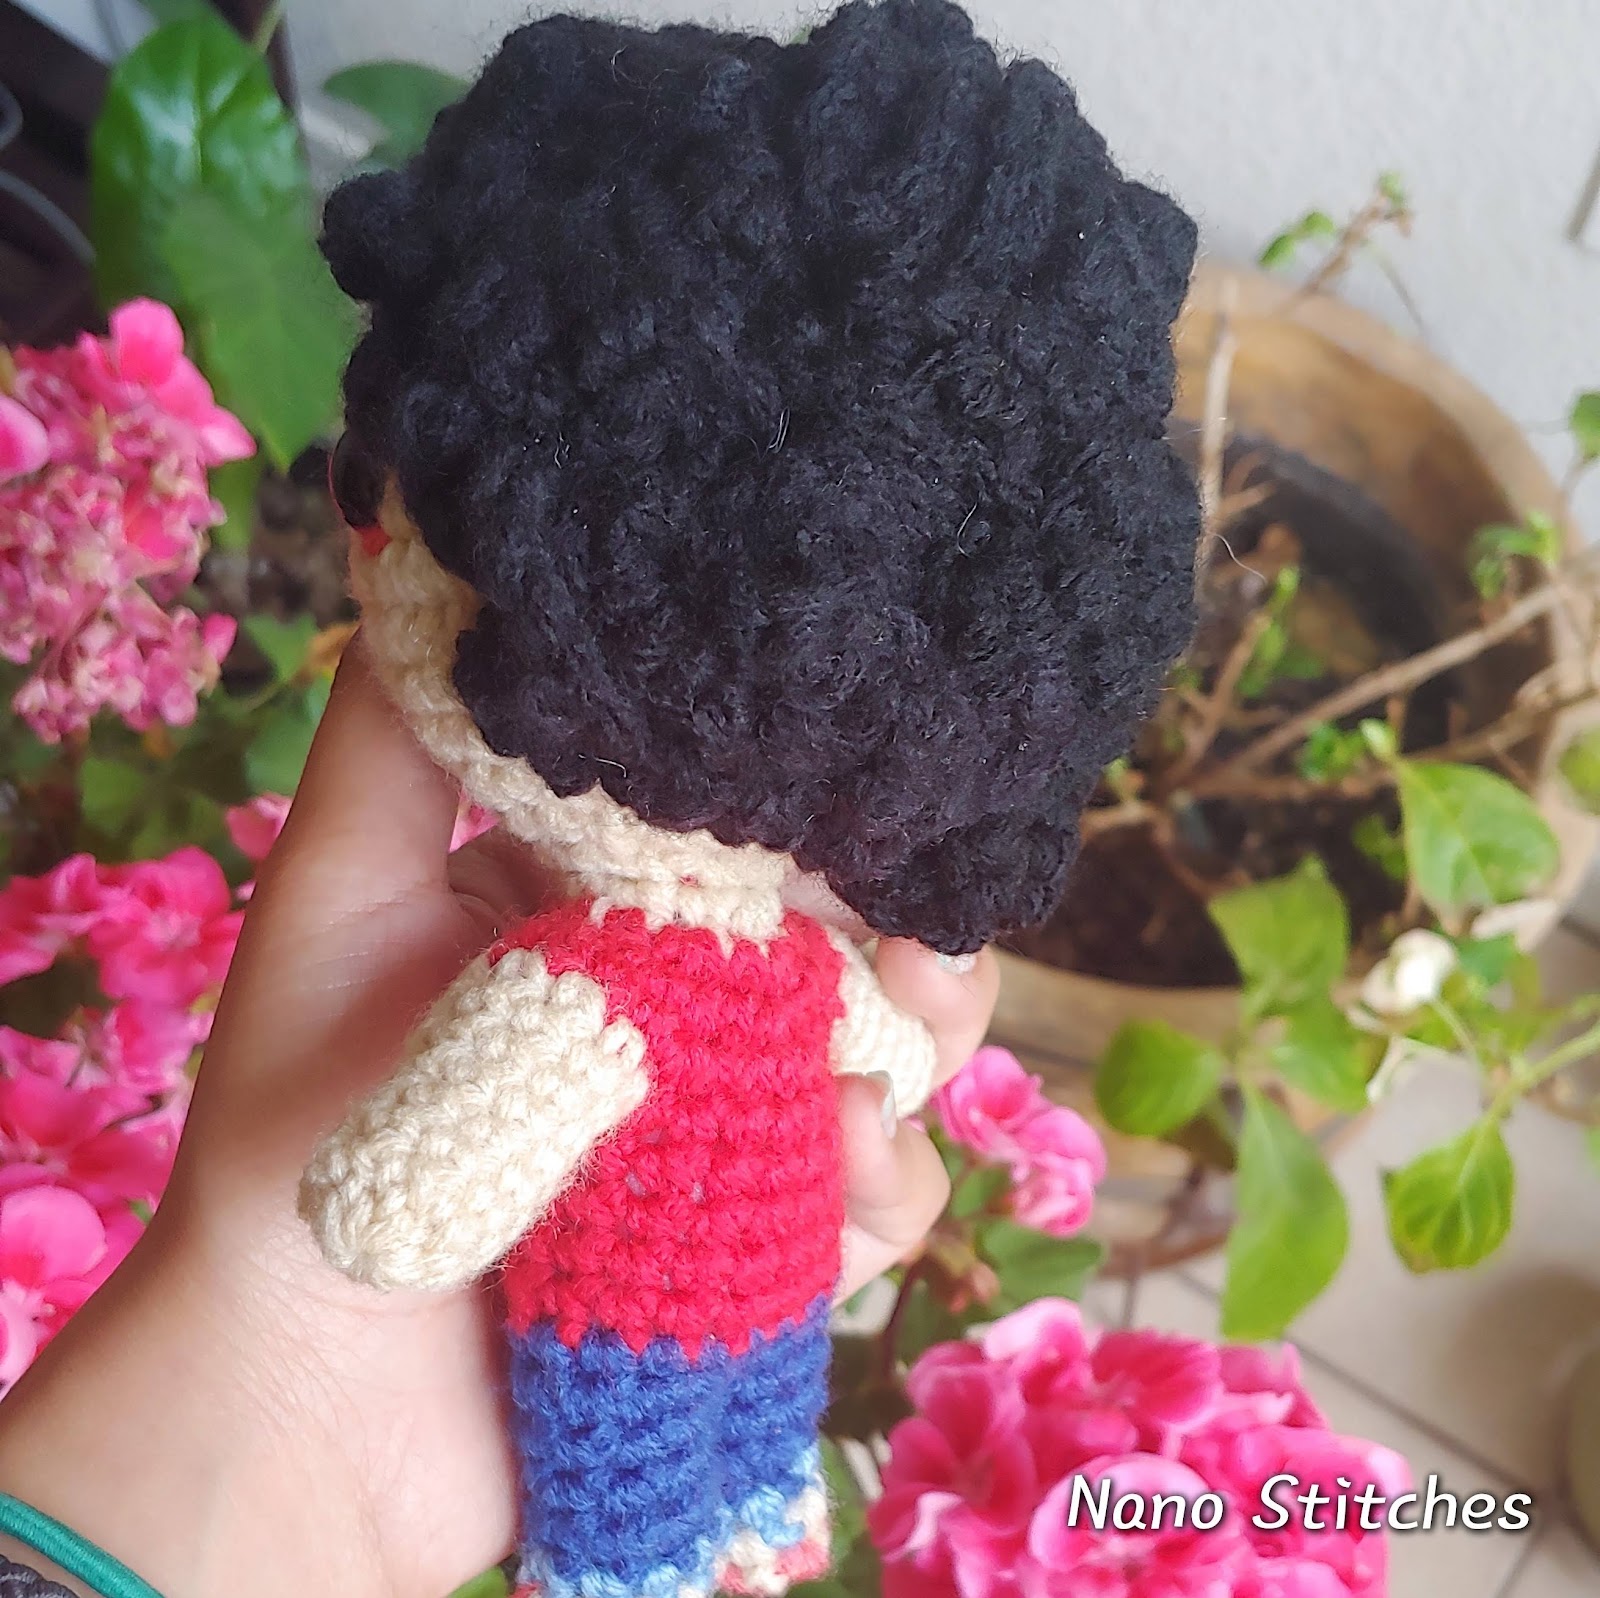
If you’re new to the Amigurumi Builder series, Welcome! I’m on the quest of creating the ultimate list of crochet patterns that relate to making amigurumi. This time we’ll discover the secret to creating stunning amigurumi hairstyles focusing on curly hair. Despite its intricate appearance, rest assured that mastering this technique is simpler than you think. What sets it apart is its versatility. While this tutorial focuses on achieving ‘curly’ hair, you’ll be amazed at how easily you can customize it to create a bunch of unique styles. Believe it or not, the diverse hairstyles shown here were all crafted using the same straightforward method.
With our step-by-step instructions and insider tips, you’ll be able to elevate your amigurumi game and experiment with different looks effortlessly. So, dive in and explore the endless possibilities of amigurumi hairstyling. Happy crafting!
The ad-free and printable version of this pattern can be found at Ribblr, Ravelry, and Etsy.
ABBREVIATIONS (AMERICAN TERMS)
- MC: Magic Circle
- Ch: Chain
- Sc: Single Crochet
- Sc inc: Single crochet Increment
Materials Needed
- 4.5mm Crochet Hook
- Medium Weight Yarn (Used: Red Heart Super Saver in Warm Brown)
- Scissors
- Yarn needle (metal recommended)
- Pins
Pattern
OPTIONAL WIG CAP
Enhance your amigurumi with our optional wig cap tutorial. Designed to cover any ‘bald spots’ on your Classic Doll Base, this accessory ensures a seamless finish, hiding background colors that may show through the hair. Whether for aesthetic reasons or other concerns, this wig cap offers an easy solution.
Using the same color as the hair:
- Round 1: MC, 6sc (6) set your marker
- Round 2: 6 sc inc (12)
- Round 3: (1sc, 1 sc inc) x6 (18)
- Round 4: (1sc, 1 sc inc, 1sc) x6 (24)
- Round 5: (3sc, 1 sc inc) x6 (30)
- Round 6: (2sc, 1 sc inc, 2sc) x6 (36)
- Round 7-14: Sc around. (8 rounds), (36), Fasten off and leave a long tail for sewing, about 20 inches.
Place the wig cap on top of the doll’s head and align it as you please, I like to make it so that the back of the hairline almost touches the neck. Sew the outer loop of each stitch onto the doll.
CURLS
You will need approximately 8 strands to cover the whole wig cap, and from then you can add more as you please to change the shape and volume of the hair.
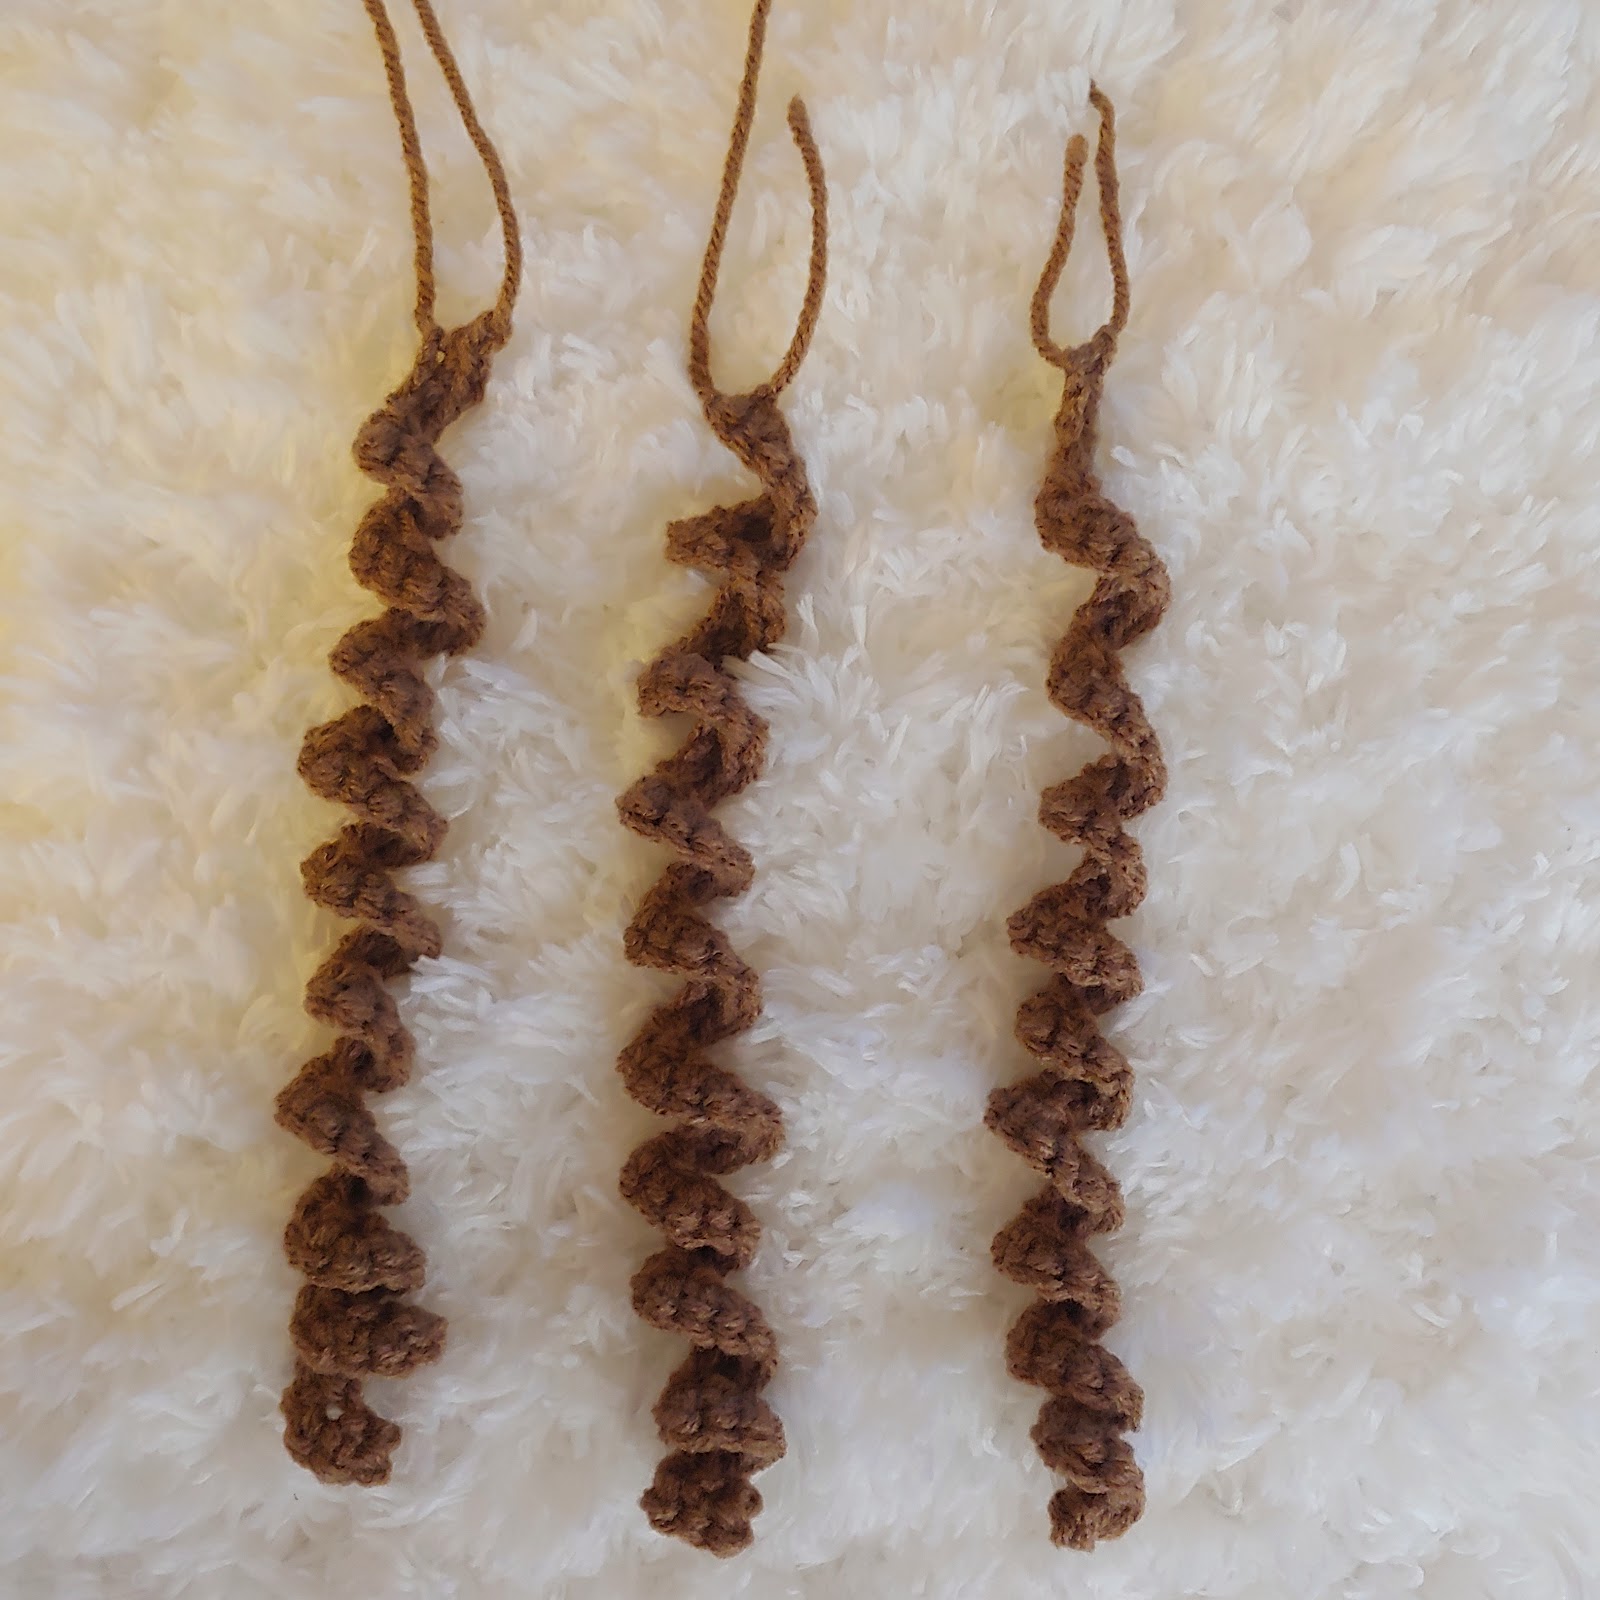
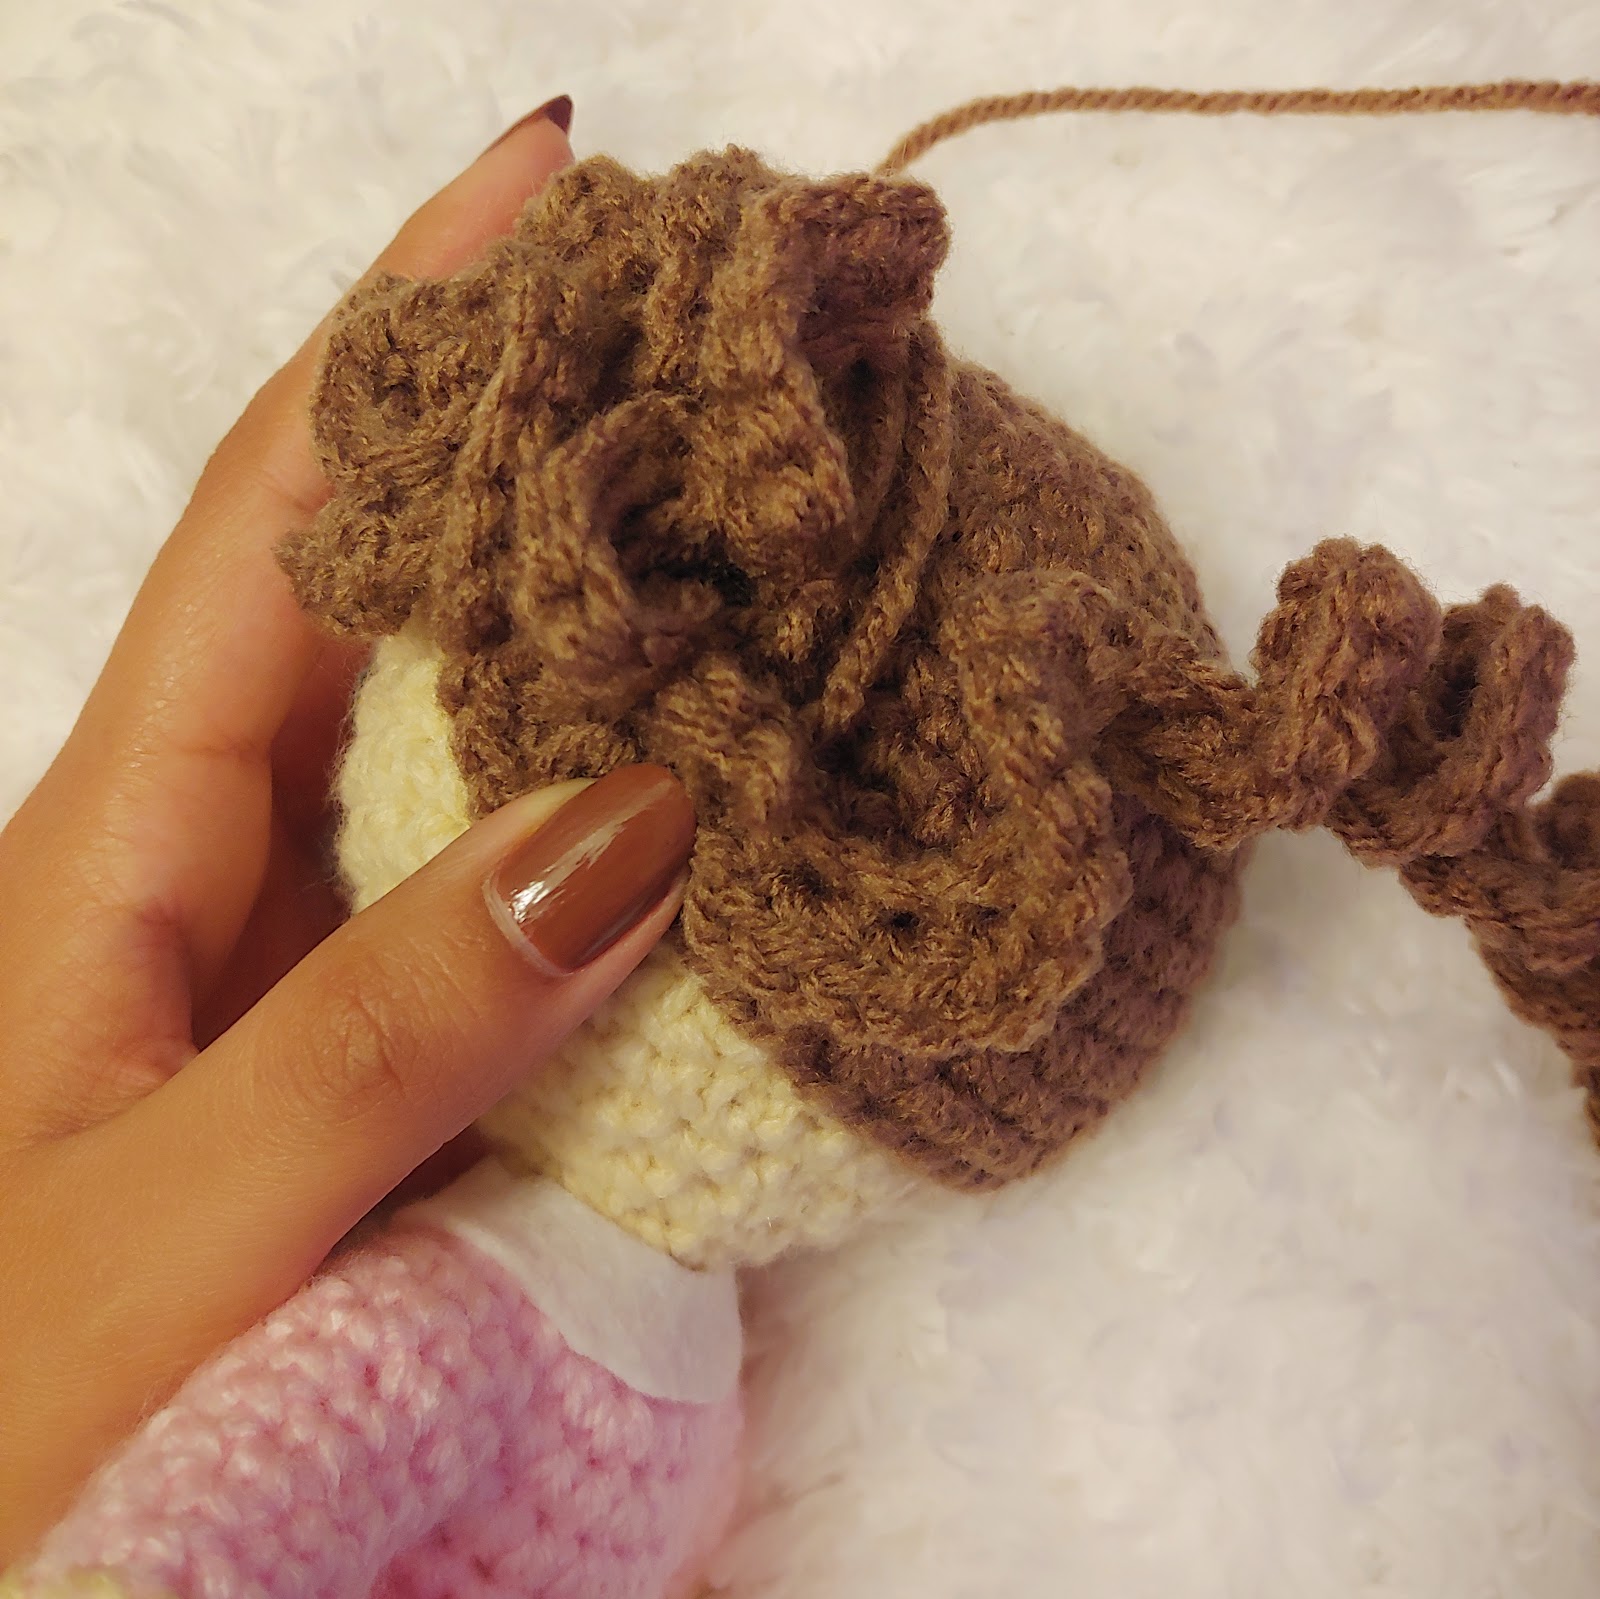
- Round 1: Leave a 2 inch tail at the start. Ch 51, turn around, skip the first stitch and work 50 Sc inc. Fasten off and leave a long tail for sewing, about 12 inches.
This completes one curl. Place the tip of the curl facing inwards so that it frames the face and pin it in place if you’d like. Place the rest of the curl as shown below, working in an “S” shape:
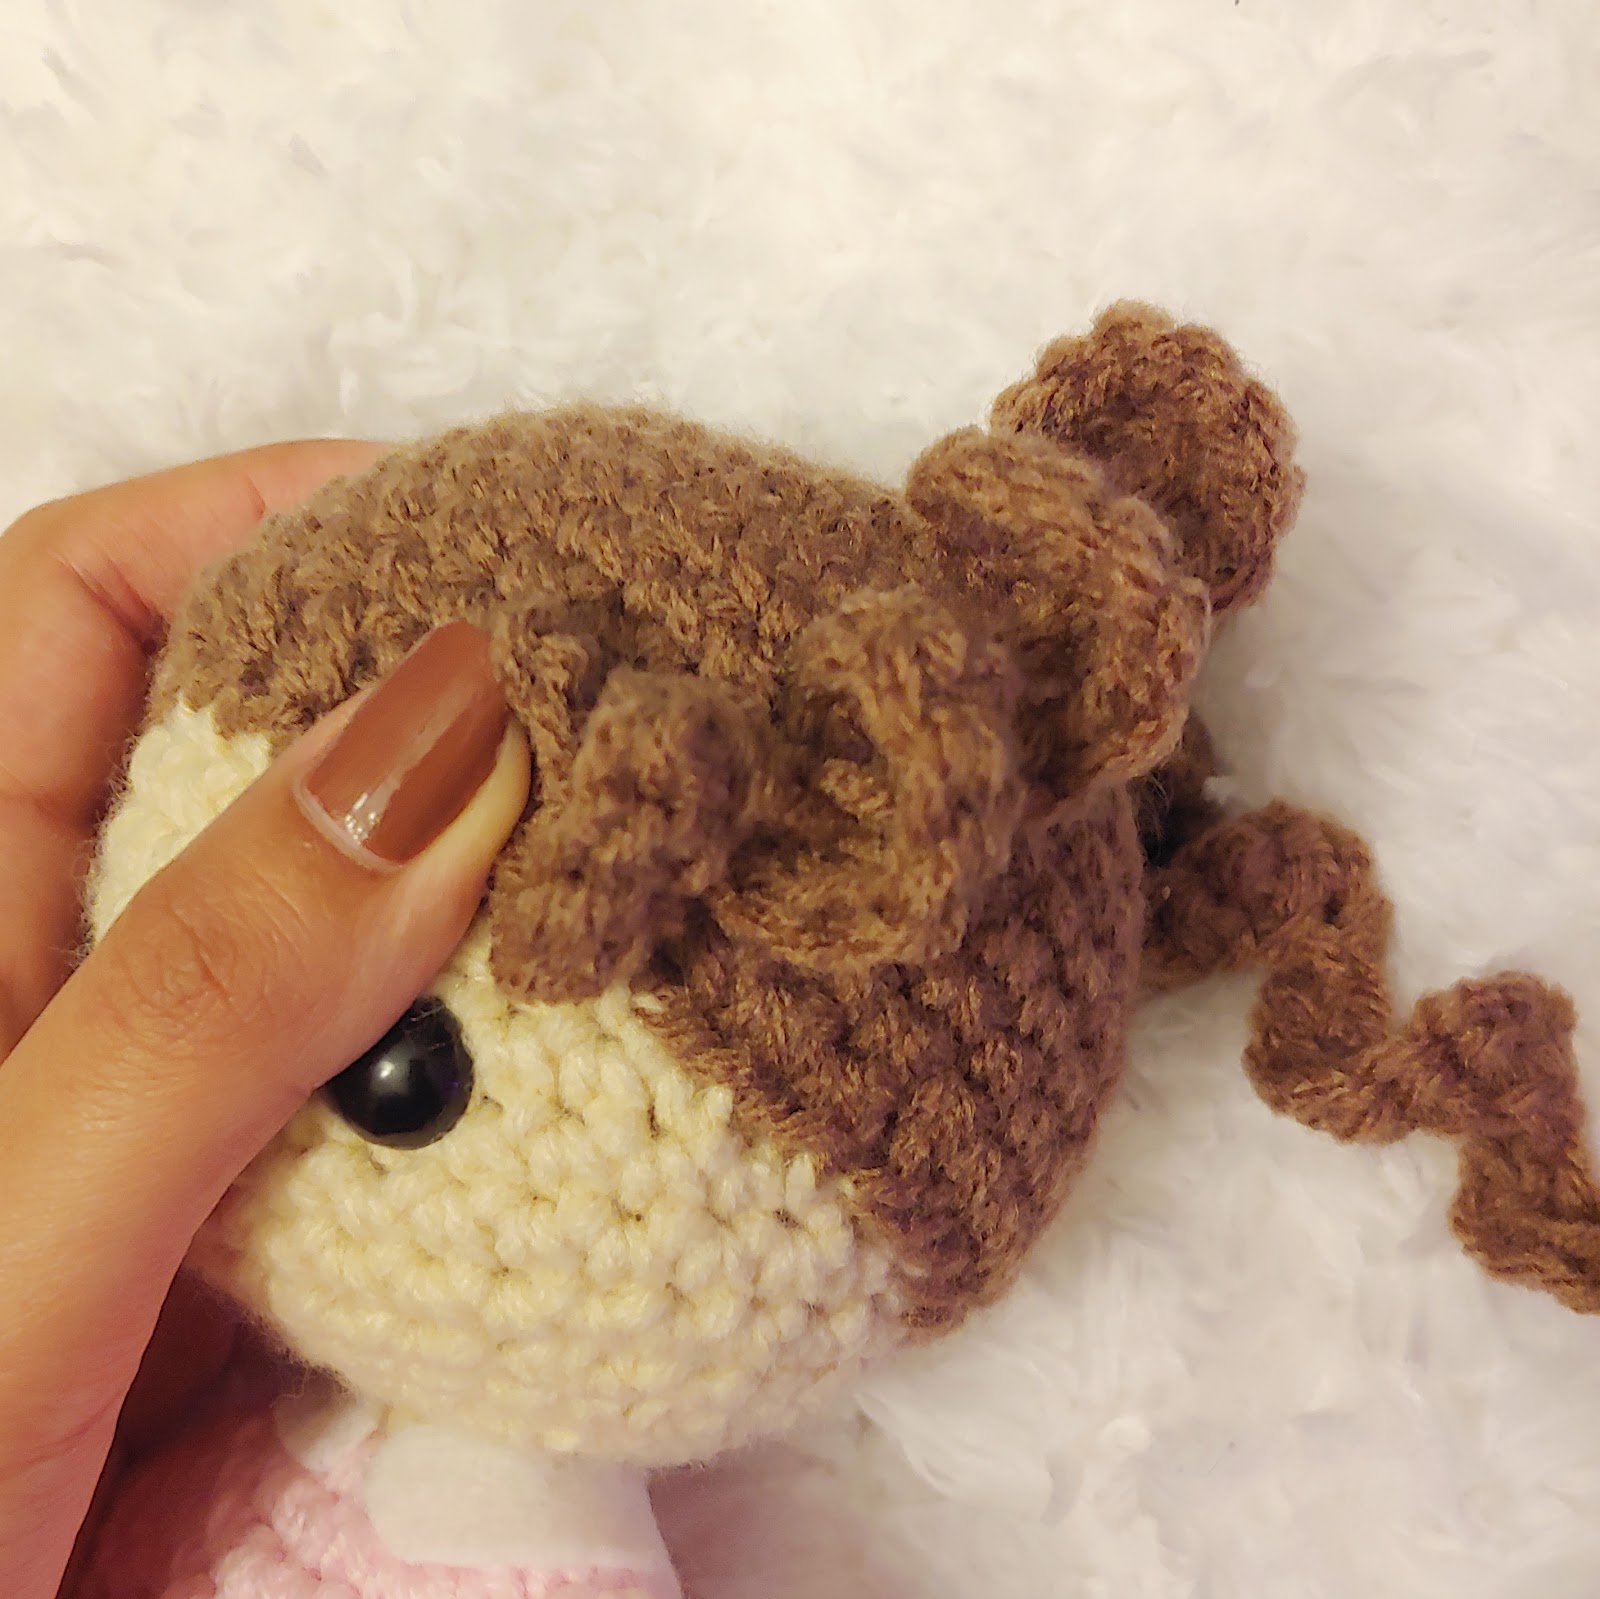
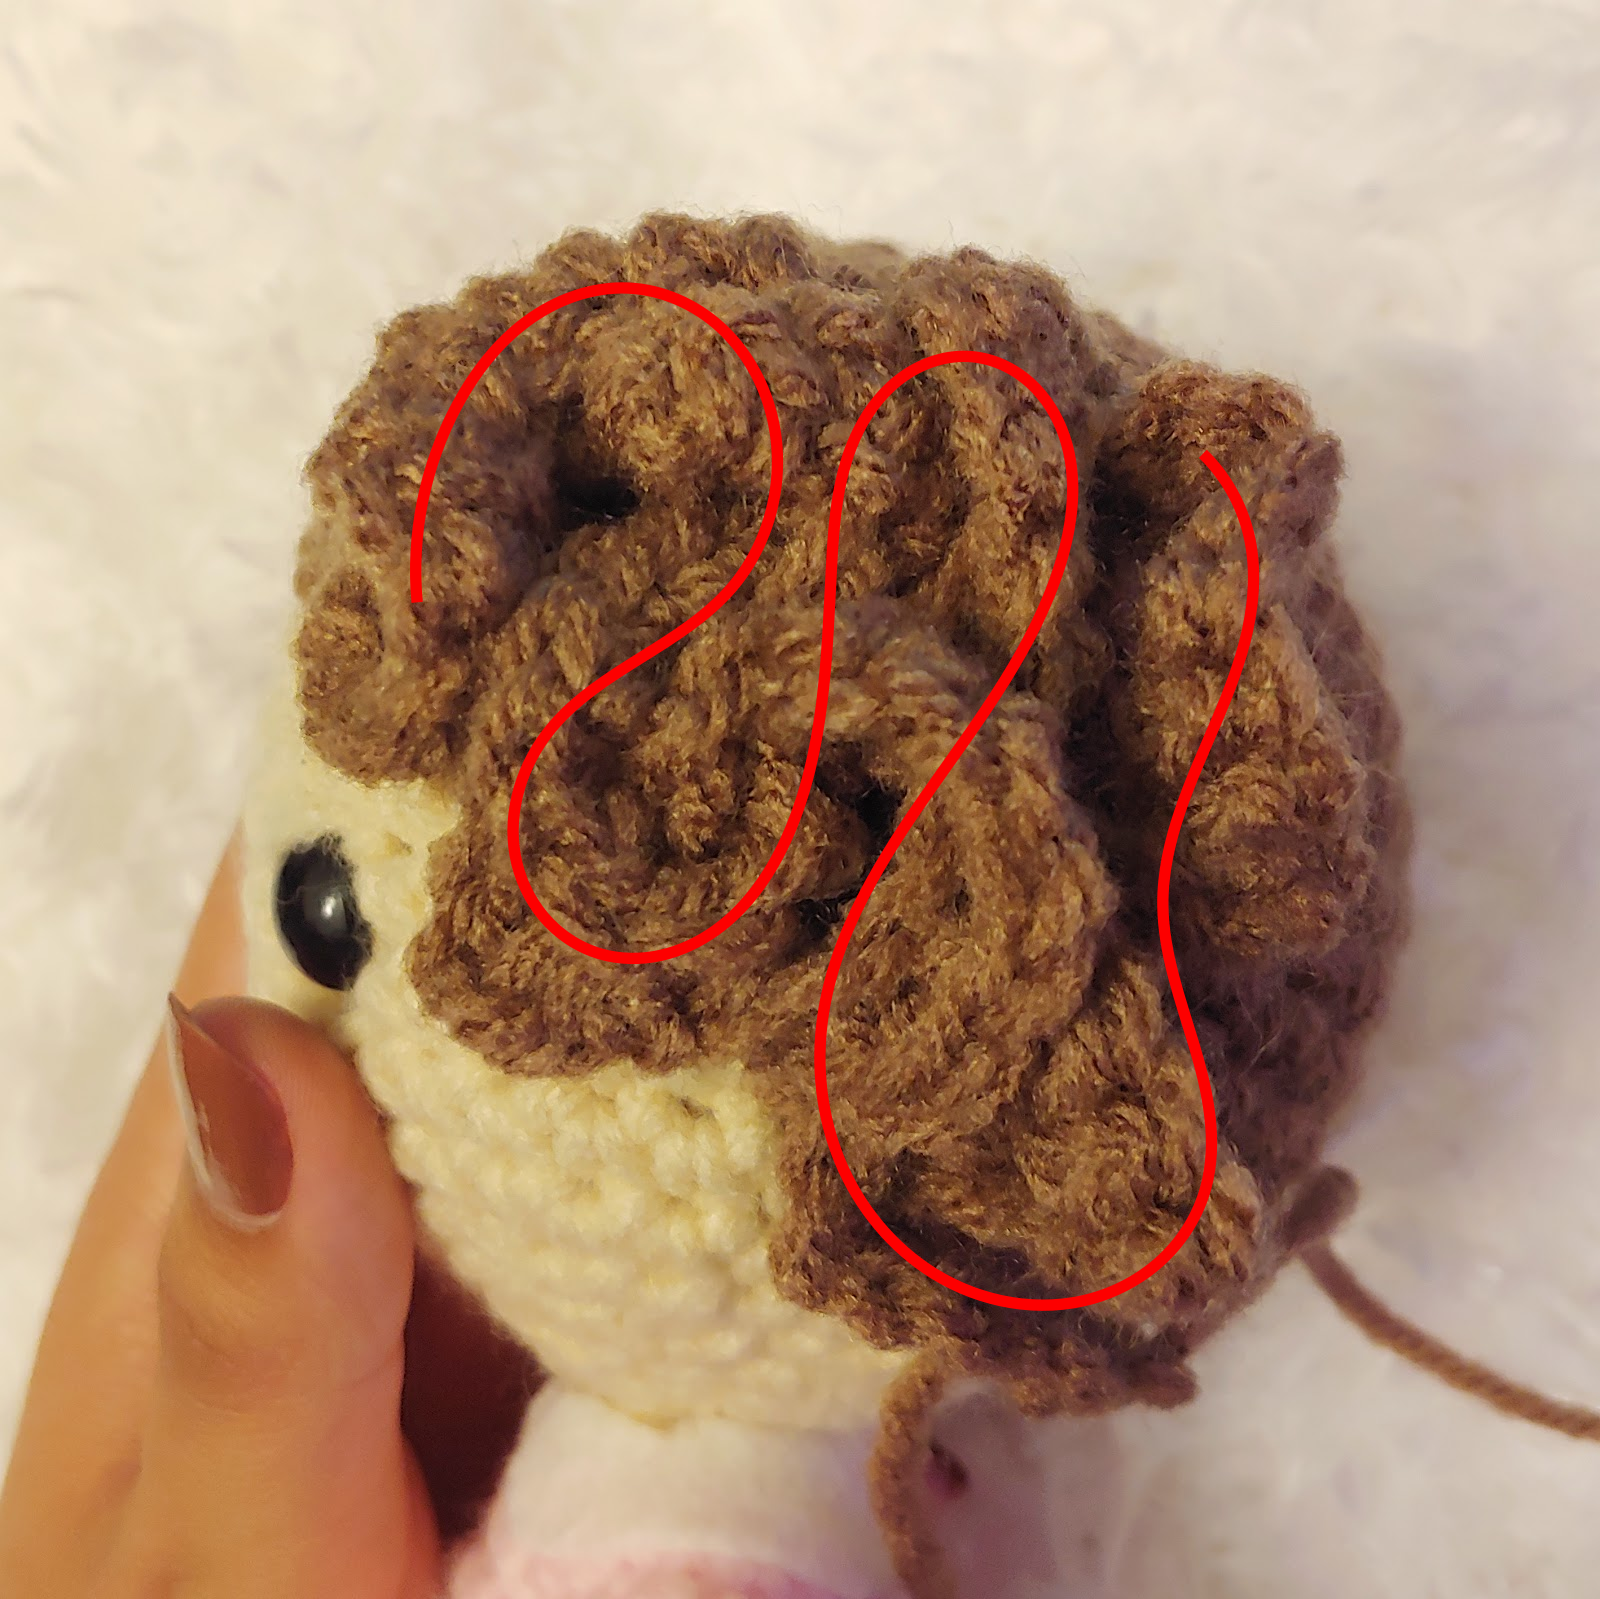
You can hold it in place as you sew it, or you can place a few pins to hold it and remove them as you go. Careful not to leave any pins in the doll!
Hide the short yarn tail inside the doll’s head, grab the next strand and repeat the process until the entire head is covered.
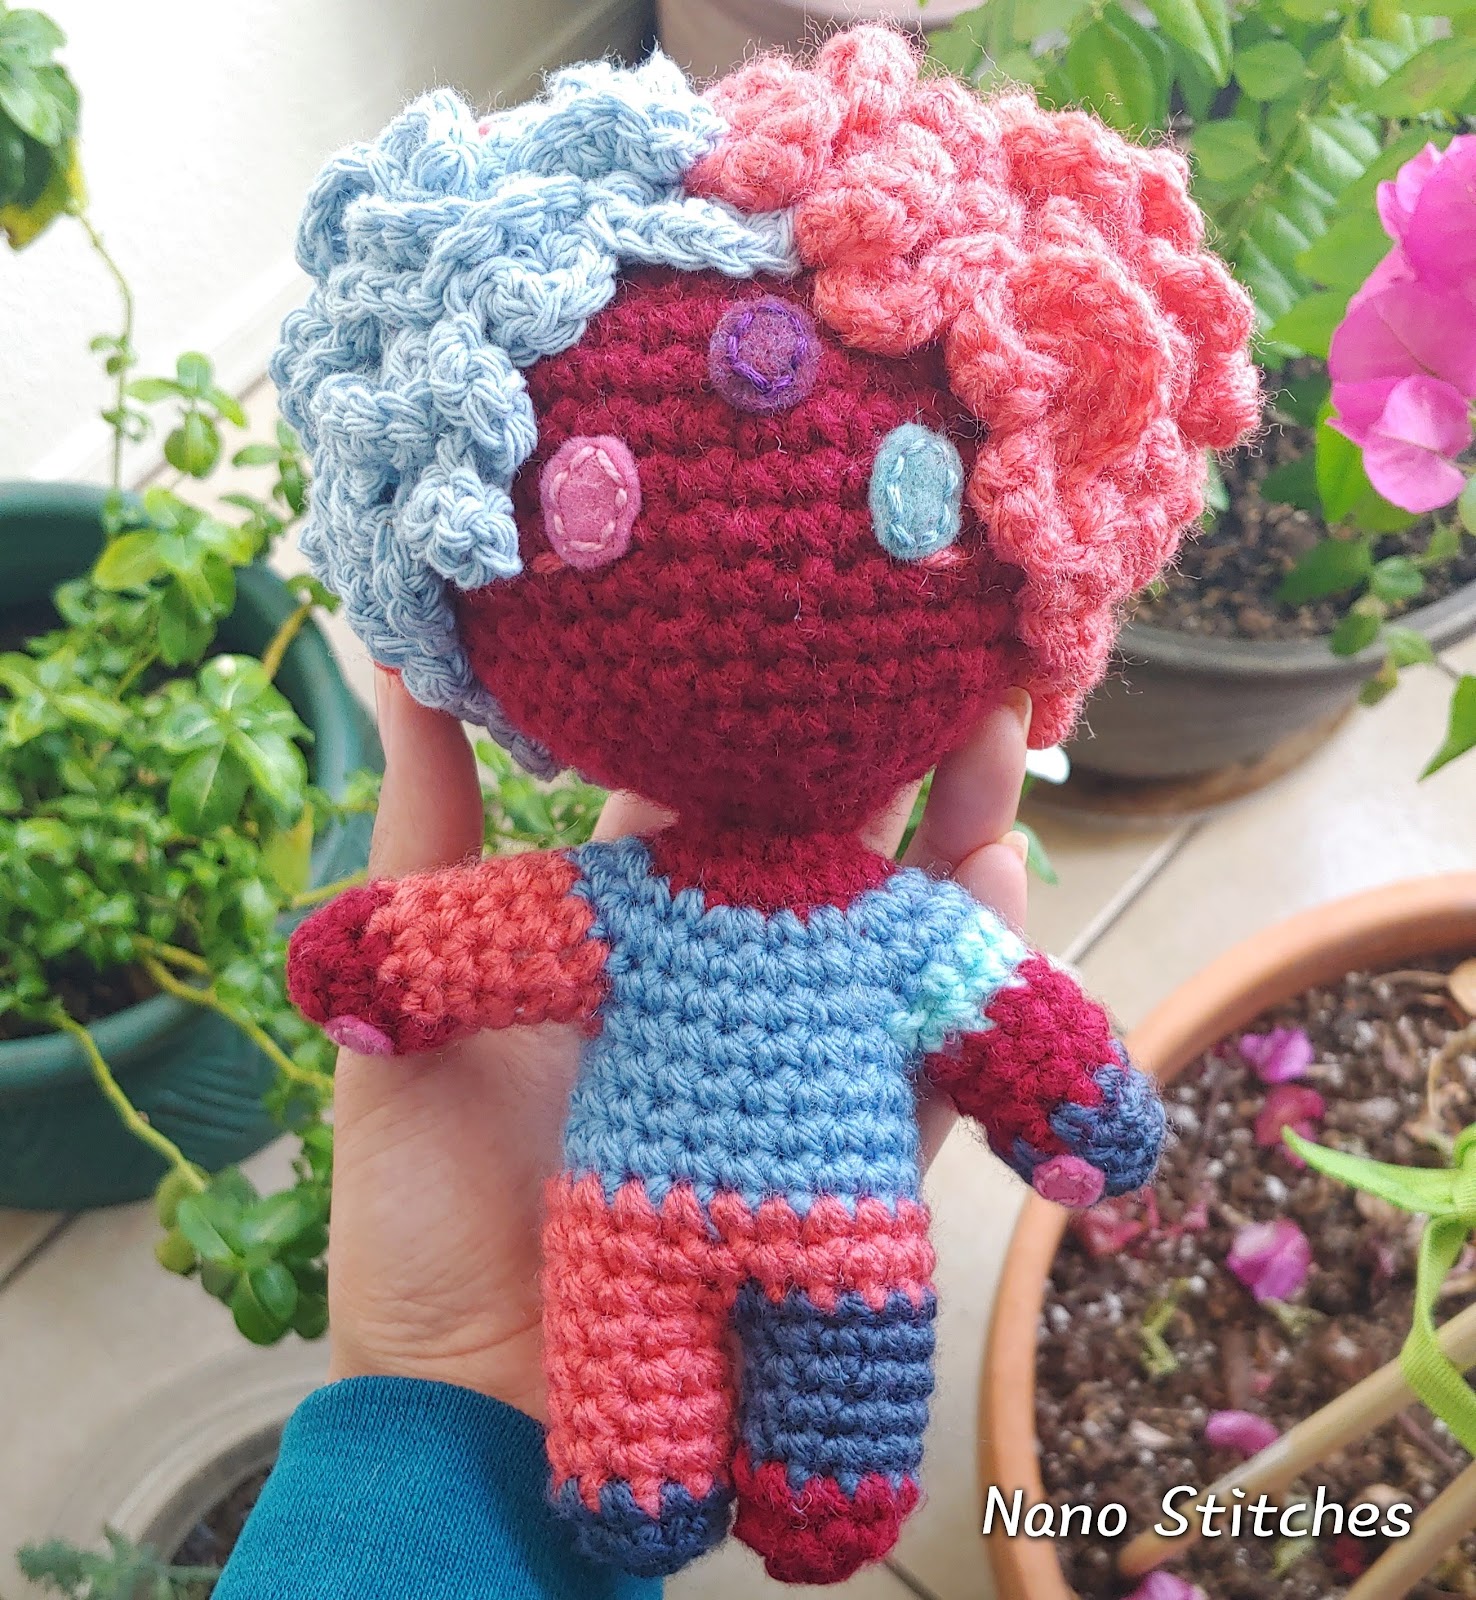
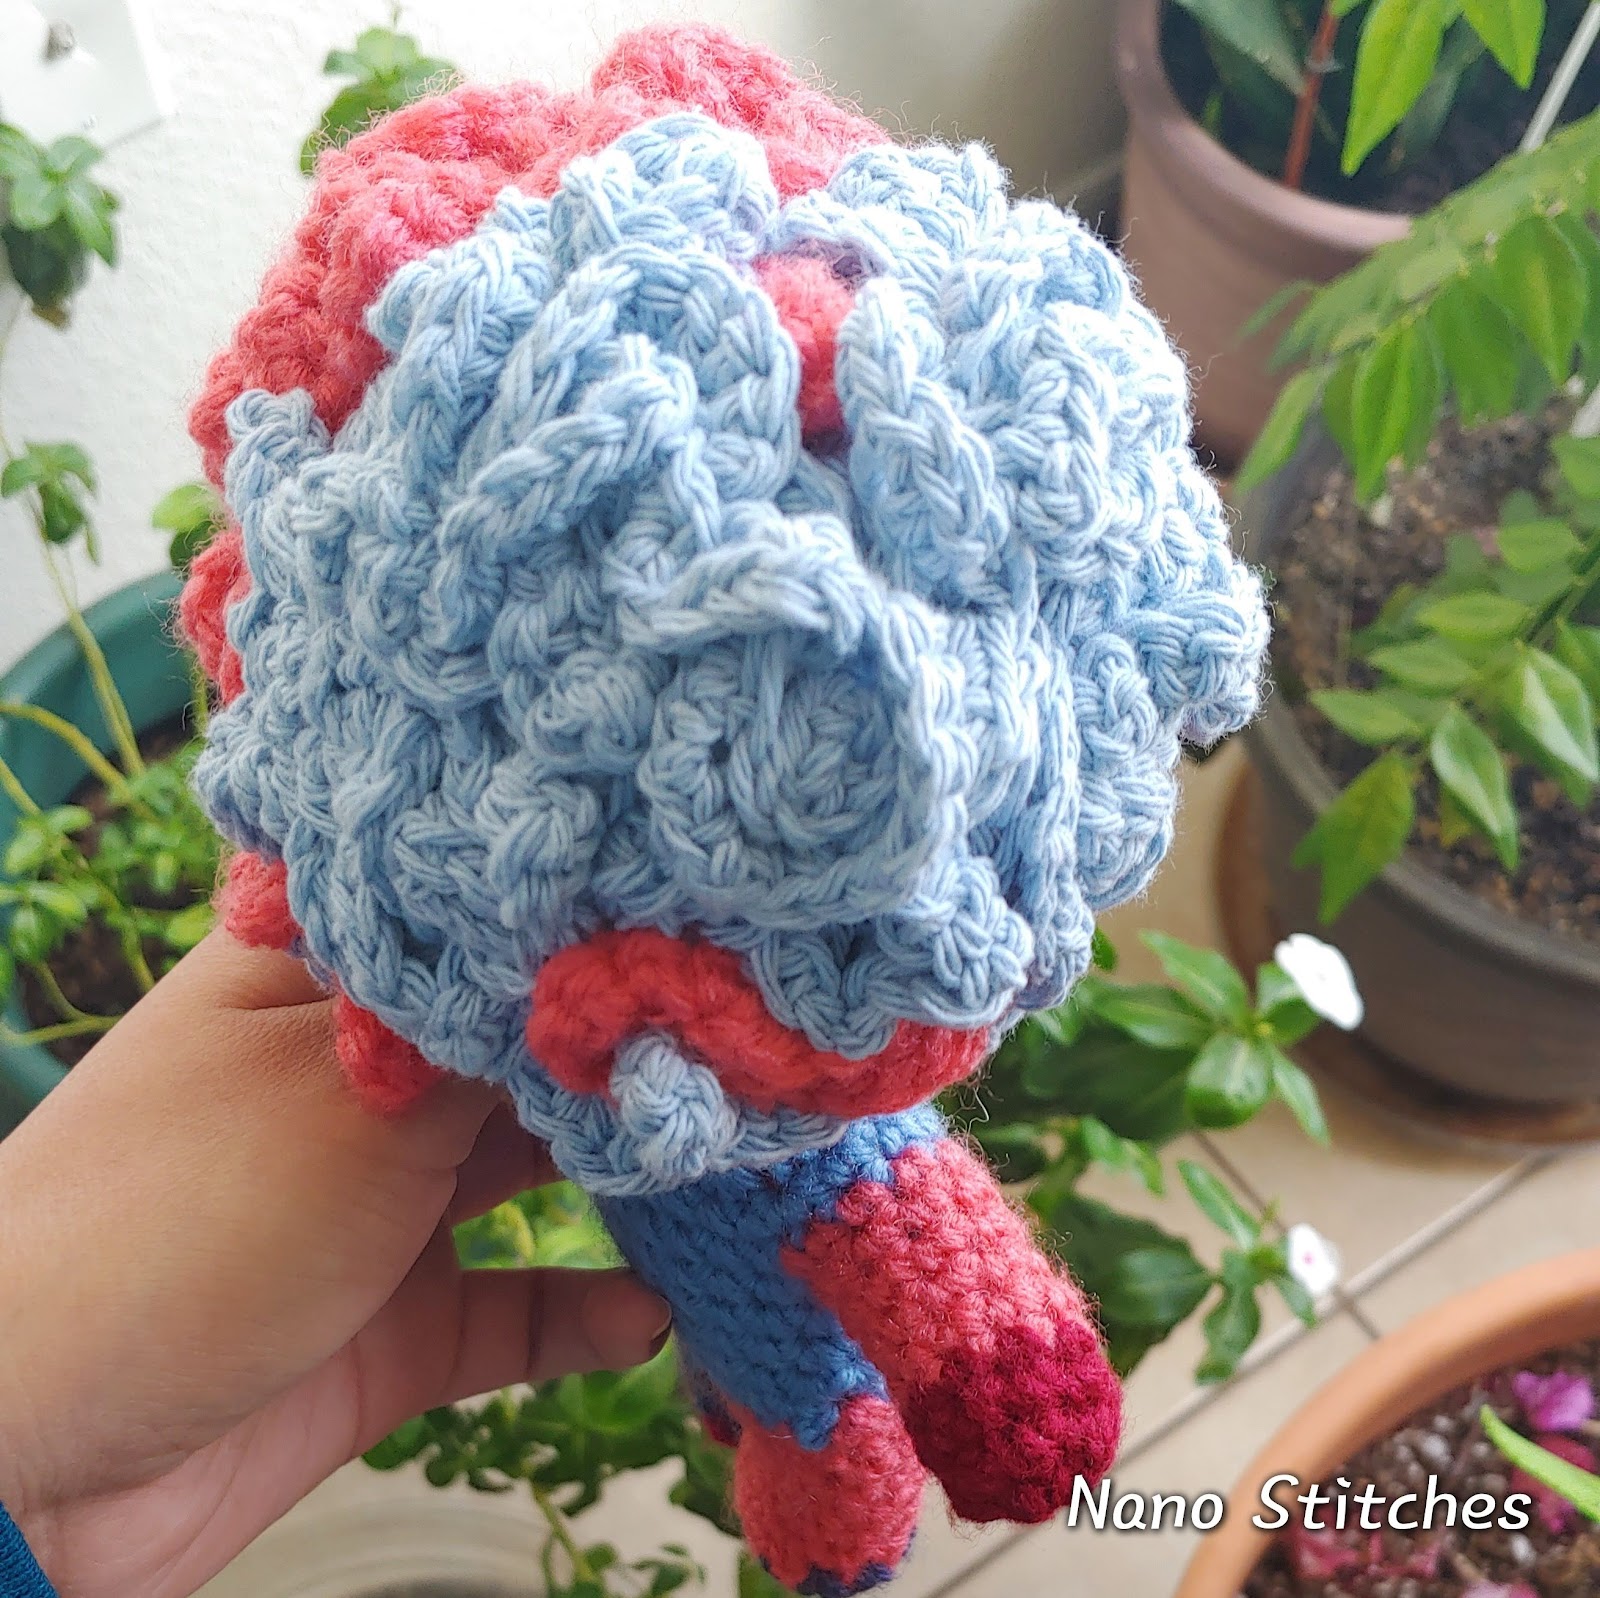
I find that the curls right around the face of the doll should be the most detailed ones, as they are your work’s frame, in a way. If you’d like more volume, layer the curls until the hair looks just like you pictured it. For example, this character called for more “box-y” shaped hair, so I kept adding curls to the sides until it almost looked like it had corners.
The advantage of doing 51 chains at a time is that you get a manageable length for every curl, and it is easier to work up to the style that you want instead of having “leftover” hair. But you’re free to do a 100+ chain to begin with if that’s what you’d like!
Thank you for following along! As you can see, this is more of a “tutorial” rather than a pattern, so I’m excited to see all the variations that you guys make ♥
Thank you so much for choosing my pattern!
If you liked this design please consider following our Twitch Streams
I’D LOVE TO SEE YOUR PROJECTS! IF YOU HAVE PROGRESS PICTURES OR WANT TO SHARE YOUR FINISHED PROJECT PLEASE TAG THE GRUMPY GRANNY ON SOCIAL MEDIA
You may sell your product providing pattern credit to The Grumpy Granny on Twitch, TikTok, Instagram, Etsy, Facebook, Pinterest, Ravelry: @the.grumpy.granny or any other social media in which you advertise. The pattern itself shall not be copied. If you sell the items you must use your own pictures for advertising. If you need assistance during the process, if someone else is selling my pattern, or you just want to say hi, feel free to contact me on social media or email me at la.grumpy.granny@gmail.com